

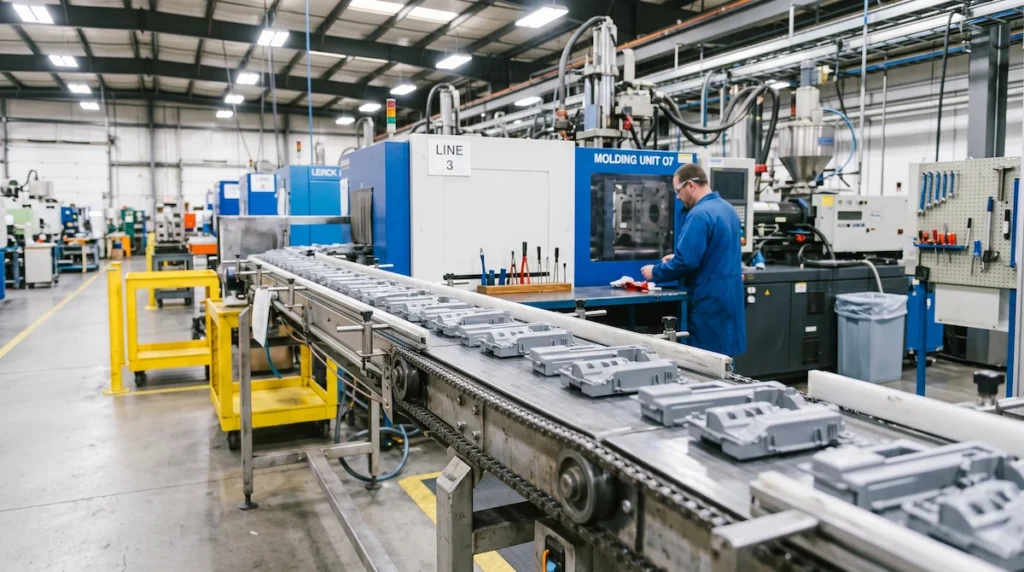
Ask ten people what’s good and bad about injection molding, and you’ll get ten different half-answers — usually “cheap at volume” and “expensive tooling,” said in the same breath as if that settles it. It doesn’t. The advantages are real, but they only kick in past a certain volume. The defects are real too, but most of them are either preventable or cosmetic, not the catastrophic failures buyers sometimes fear. This is the longer, more useful version of that conversation.
At a Glance — Advantages
✓ Cost per part can drop under $1 at volume
✓ Cycle times of seconds to a couple minutes
✓ Tight, repeatable tolerances shot after shot
✓ Works with hundreds of resins and composites
✓ Excellent surface finish straight from the mold
At a Glance — Defects to Watch For
⚠ Sink marks near ribs and bosses
⚠ Warping from uneven cooling
⚠ Flash at the parting line
⚠ Short shots on thin or long flow paths
⚠ Weld lines where flow fronts meet
The ROI Math: When $8,000–$60,000 in Tooling Pays for Itself
Every buyer staring at a five-figure tooling quote asks some version of the same question: at what point does this stop being a scary number and start being a good decision? There are two ways to answer it, and it’s worth running both.
The first is amortization — watching the tooling cost per part shrink as volume climbs. Take an $18,000 multi-cavity mold with a variable cost of $0.60 per part:
Bars illustrate relative scale, not drawn precisely to scale. Figures are for a representative $18,000 mold.
The second is payback against an alternative — which is the number that actually justifies the spend. If the realistic alternative for a mid-volume run is CNC machining or a manual process at roughly $12.00 per part, injection molding’s $0.60 variable cost saves $11.40 on every unit. Divide the tooling cost by that savings: $18,000 ÷ $11.40 ≈ 1,580 units. Past that point, the tooling has already paid for itself — everything after is money saved, not spent.
That payback number, not the sticker price, is what a CFO actually needs to approve the spend. Our full tooling cost breakdown covers how mold price scales with cavity count and steel grade, so you can build this same math for your own part.
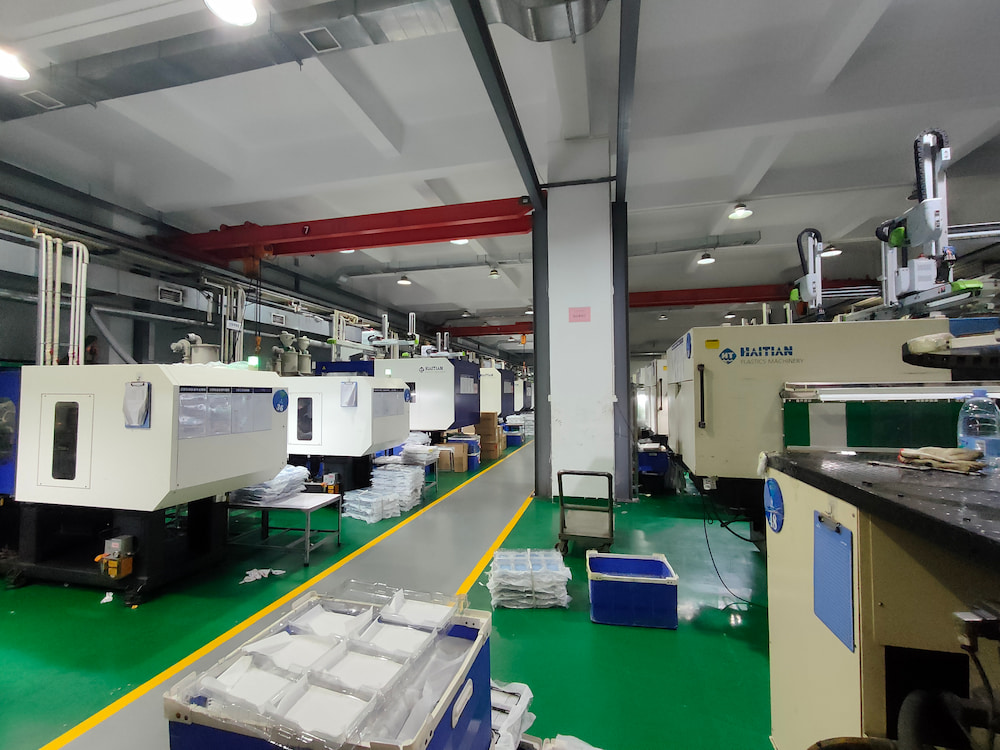
Cosmetic Flaw or Structural Failure? A Defect Severity Framework
Not every defect on a T1 sample means the same thing. Some are appearance issues that a cosmetic-tolerant application can live with. Others mean the part can fail under load. Telling them apart before you approve a production run matters more than the inspection checklist itself.
COSMETIC
- Minor sink marks on non-visible or low-stress surfaces
- Flow lines or slight color streaking
- Light gate vestige or witness marks
- Small gloss variation between shots
STRUCTURAL
- Weld lines across a load-bearing section
- Internal voids or air traps in thick regions
- Warping severe enough to break a fit or seal
- Short shots or delamination from degraded resin
Weld lines deserve special attention because they look minor and often aren’t. A weld line forms wherever two flow fronts meet and re-fuse inside the cavity — and depending on material, mold temperature, and geometry, strength across that seam can fall by roughly 30% to 80% compared to the surrounding material. A weld line running through a decorative surface is cosmetic. The same weld line running through a snap-fit or a load-bearing rib is a structural risk that visual inspection alone won’t catch. (Source: EYC, Injection Molding Weld Lines Guide)
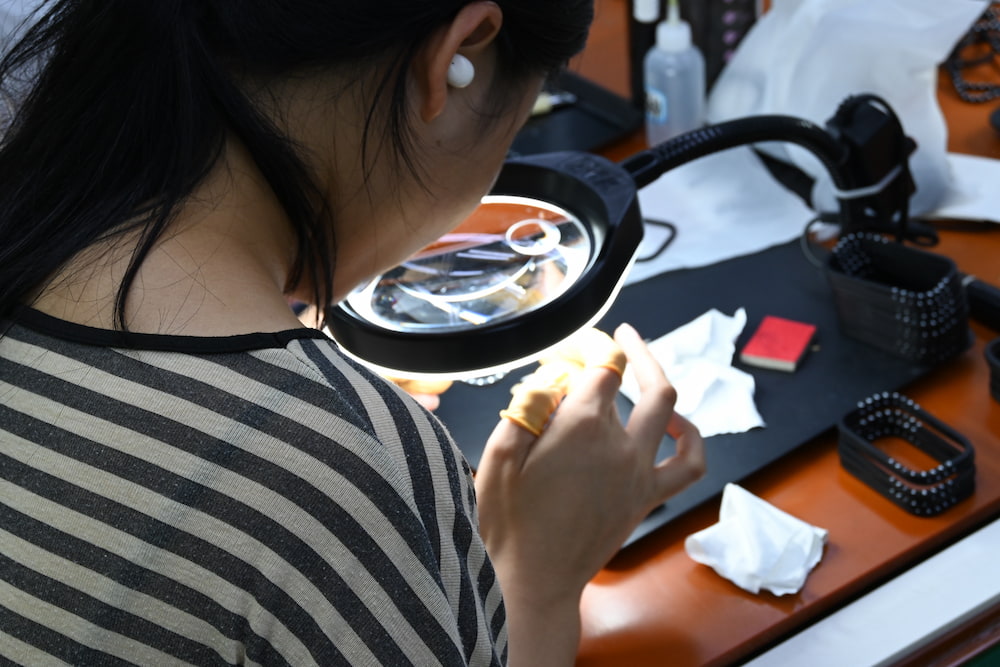
The fix for both categories starts before steel is cut — wall thickness and gate placement decided at the DFM stage prevent most of this list outright — and continues at T1, where a real evaluation means stress-testing the part at the weld line and critical features, not just looking at it under a light. That’s the standard our quality assurance process holds every T1 sample to before a production run gets approved.
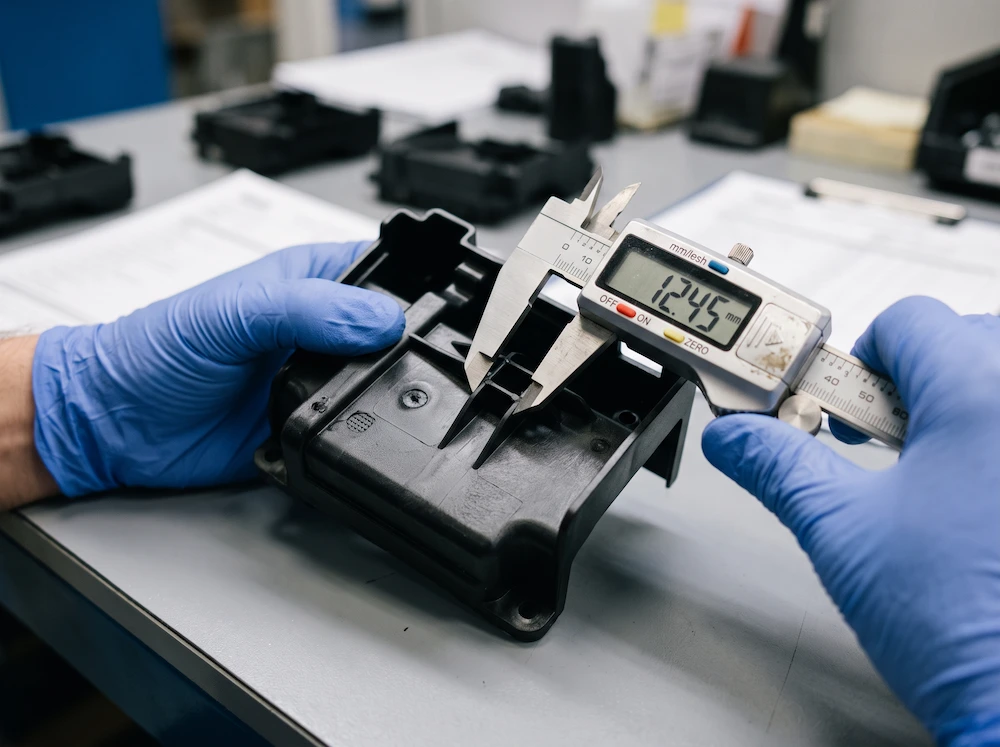
Multi-Cavity and Family Molds: Efficiency Gains vs. Design Lock-In
A multi-cavity mold produces several identical parts per cycle instead of one — an 8-cavity tool making 8 parts every 20 seconds instead of 1. A family mold takes that a step further, molding several different parts (a lid and its matching base, say) in the same cycle, sharing one machine and one runner system. Both dramatically cut cost and time per part at real volume. Both also come with a catch that’s easy to underestimate.
Once cavities are cut into steel, they’re identical copies of the same design decision — for better and worse. A single-cavity mold with a design flaw needs one fix. An 8-cavity mold with the same flaw needs that fix repeated eight times, in eight different blocks of hardened steel, before a single good part comes off the tool. Engineering changes on multi-cavity tooling don’t scale linearly with cavity count — they scale worse than that, in both cost and schedule.
Family molds add a second risk on top: the cavities are different parts with different volumes and wall sections, which means balancing flow so one cavity doesn’t overpack while another underfills takes real mold-flow analysis, not guesswork. It’s a real efficiency gain for a matched, finalized product set — and a real liability if either part in the pair is still likely to change.
The practical rule: if your design has shipped, sold, and survived customer feedback, multi-cavity or family tooling is where the real savings live. If you’re still iterating, start with a single-cavity bridge tool to lock the design in real material first — our mold-making team can plan the transition to multi-cavity production tooling once you’re confident nothing else needs to move.
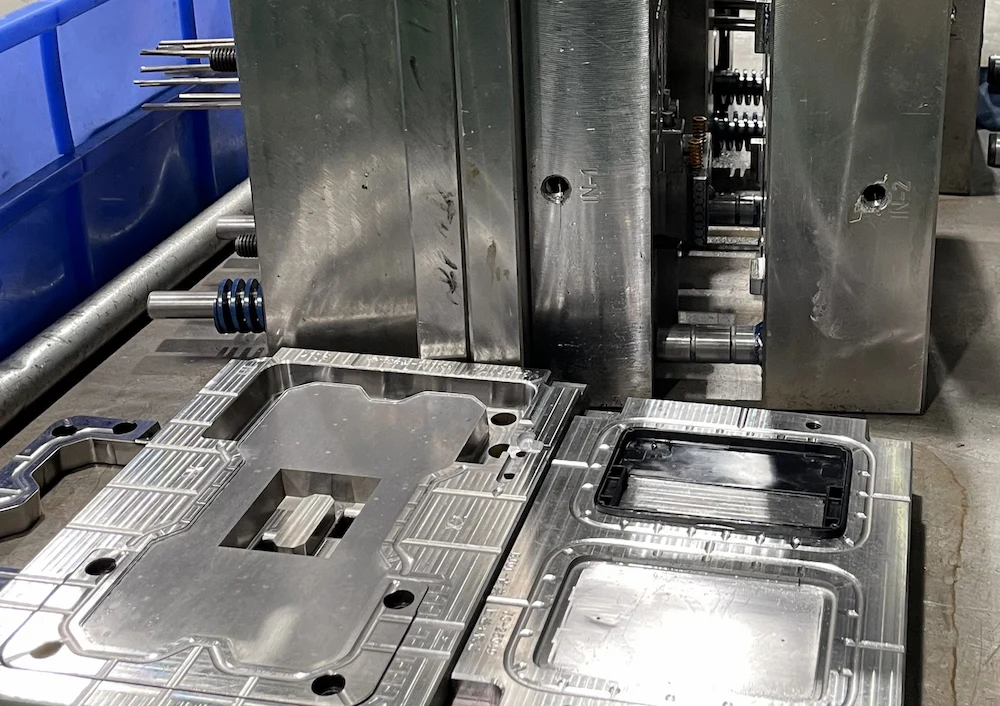
None of this makes injection molding categorically better or worse than the alternatives — it makes it a process with a specific shape: expensive to start, cheap to scale, and unforgiving of late changes. Knowing which side of that shape your project sits on is most of the decision.
Frequently Asked Questions
What are the main advantages of using plastic injection molding?
Four things stand out: very low cost per part at volume, fast cycle times, tight dimensional repeatability, and broad material compatibility.
- Cost per part can fall under $1 at high volume once tooling is amortized
- Cycle times of seconds to a couple of minutes support very high output
- A rigid steel cavity holds tight tolerances shot after shot
- Compatible with hundreds of thermoplastics, elastomers, and composites
What is the biggest disadvantage of injection molding?
High upfront tooling cost and a lead time of weeks to months before the first part exists.
- Tooling ranges from roughly $1,000 for a simple prototype mold to $60,000+ for complex production tooling
- That cost has to be committed before a single part is produced
- For a run of a few dozen or a few hundred units, the math rarely works — 3D printing or CNC usually wins instead
What are the most common defects in injection molding?
Sink marks, warping, flash, and short shots account for most of what shows up on a T1 sample.
- Sink marks — surface depressions where a thick section cools and shrinks unevenly
- Warping — distortion from uneven cooling or internal stress
- Flash — thin excess plastic escaping at the parting line
- Short shots — incomplete fill, usually on thin walls or long flow paths
How can you fix warp or sink marks in injection molded parts?
Check design first, then process — the fix depends on which one is actually at fault.
- Uneven wall thickness is the most common design cause — thin ribs and bosses to 40–60% of the nominal wall
- Insufficient packing pressure or uneven cooling time is the most common process cause — both are adjustable without touching the mold
- Moisture in hygroscopic resins (nylon, PC, PET) can cause both defects — confirm proper drying before blaming the mold or the design
Is injection molding environmentally friendly and sustainable?
It can be — the impact depends heavily on material choice and how scrap is managed, not the process itself.
- Regrind from runners and rejects is commonly reused at 10–30% without affecting part properties, and up to 100% on some non-critical parts (Source: Aaamould, Regrind in Injection Molding)
- Hot runner tooling eliminates sprue and runner waste almost entirely
- Many bioplastics and bio-based resins are fully compatible with standard molding equipment
- A steel mold itself lasts hundreds of thousands of cycles, which spreads its own manufacturing footprint thin per part
Why is dimensional accuracy highly repeatable in injection molding?
Because the cavity is rigid, hardened steel, and the process repeats the same pressure, temperature, and cooling profile every cycle.
- A steel cavity doesn’t flex or wear the way softer tooling or a printed mold does
- Process control (SPC) keeps shot-to-shot variation within a tight band
- Typical achievable tolerances run around ±0.05–0.2 mm depending on tooling class and part geometry
Which side of this trade-off are you on?
Still iterating on the design?
Start with a single-cavity bridge tool, prove the part in real resin, then scale once it’s locked.
Explore Rapid ToolingDesign locked, ready to scale?
Get a multi-cavity tooling quote and a real per-unit cost at your target volume.
Request a Tooling Quote