

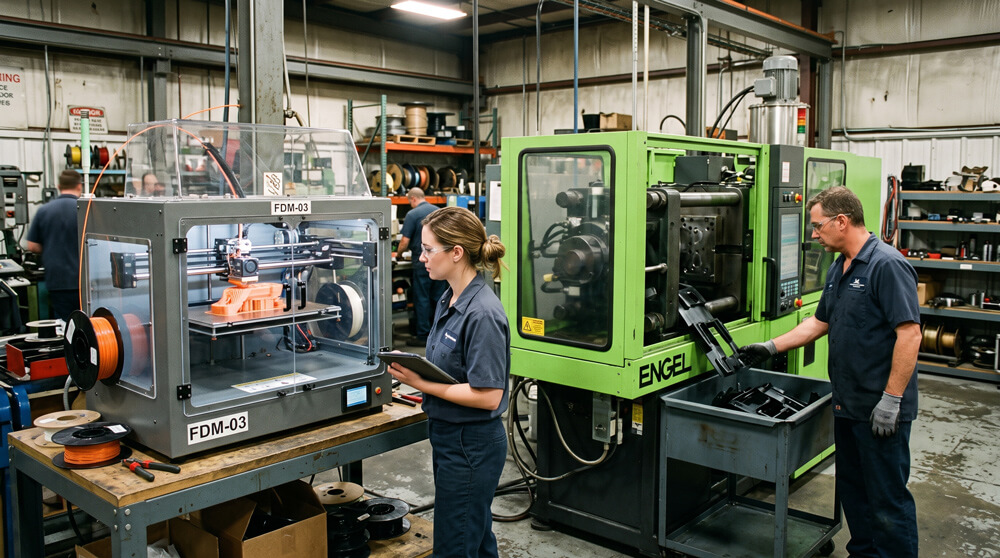
A founder emailed us last month asking whether 3D printing could replace injection molding for their first production run — 3,000 units, launching in six weeks. Wrong question, mostly. 3D printing and injection molding aren’t rivals fighting for the same job. They’re two different cost structures that happen to produce similar-looking plastic parts. One has almost no upfront cost and a per-part price that barely moves. The other carries real tooling cost upfront and a per-part price that drops hard once volume kicks in.
Get the crossover point wrong in either direction, and you either overpay for tooling you didn’t need yet, or burn weeks paying a premium per part while a mold sits half-designed. Here’s how the two processes actually compare — on cost, on strength, and on the timeline decisions that matter most before a single dollar goes into steel.
Two Different Cost Curves, Not Two Competing Technologies
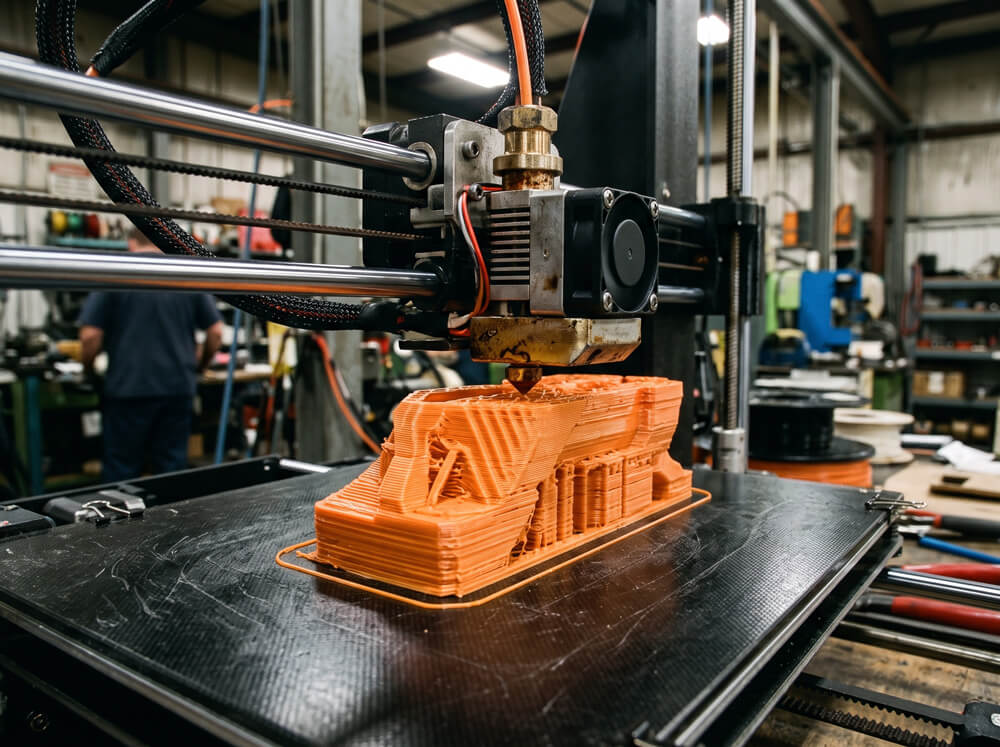
3D printing has close to zero setup cost. Send a file, get a part, pay per unit — the price barely changes whether you order 5 or 50. Injection molding flips that structure: most of the cost sits in the mold itself, built once, then amortized over every part that comes off it. Cost per part can fall under a dollar at real volume, but only after that tooling investment is paid down.
Under 200 units
3D printing — no tooling risk, fastest iteration
200 – 1,000 units
Gray zone — get quotes on both before deciding
1,000 – 20,000 units
Bridge tooling — real resin, no full steel commitment
20,000+ units
Production steel mold — lowest cost per part, longest life
Most small-to-medium plastic parts cross over somewhere in that 200-to-1,000-unit gray zone, though part size, wall thickness, and material all shift the number meaningfully. A small, simple part might not cross over until 2,000 units. A larger or more complex one can cross over well under 200.
Using 3D Printing as Bridge Production While Your Mold Is Being Built
A hardened production steel mold typically takes several months from design freeze to first shipped parts, and involves a real capital commitment before that. If your launch date, retail commitment, or funding milestone can’t wait that long, 3D printing can genuinely bridge the gap — but “bridge” means different things depending on what you actually need:
- Selling directly. For low-stress, cosmetic-tolerant products — packaging inserts, low-load housings, internal fixtures — FDM or SLS parts can ship as real interim inventory while the steel tool is machined.
- Molding in real resin, fast. A rapid aluminum tool, cut in roughly one to three weeks rather than months, produces actual injection-molded parts in your specified production resin, not a printed approximation. This matters most for anything needing certification testing, chemical exposure, or long-term mechanical load, since printed materials rarely pass the same tests as the true production resin.
- 3D-printed mold inserts. Additively manufactured cavity inserts can go into a mold base and produce genuine injection-molded parts within days, though shot life is usually limited to a few hundred to a few thousand parts before the insert wears out.
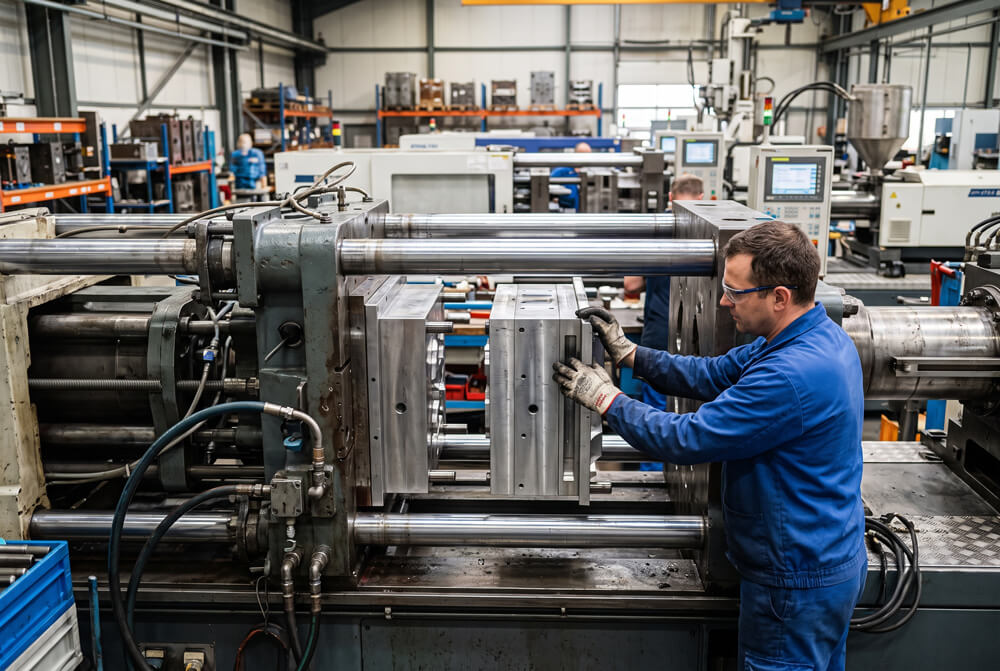
For most B2B buyers under real deadline pressure, the second option is the practical middle ground. Our MUD rapid tooling program reuses a standardized mold base and swaps in a machined aluminum cavity insert, so you get parts in your actual production resin in as few as 10 days — while our team keeps building the hardened steel mold for volume production in parallel.
If your launch timeline is already tight, talk to us before the steel mold design is finalized. Running both tools in parallel is far cheaper than reacting after the fact.
How Much Can Prototyping With 3D Printing Actually Save You Before You Cut Steel?
The honest answer: usually more than the price of the prototype itself. Once a cavity is CNC-machined and hardened, every design change becomes a repair job rather than a redraw. A 2026 tooling cost breakdown put engineering changes made after a production mold has been cut at roughly $2,000 to $8,000 per modification — and found that a $4,000 prototype tool catching three design issues before that point can save over $10,000 in downstream rework, plus months of schedule delay.
Fixing a design flaw on a screen costs nothing. Fixing the same flaw after the cavity is already cut costs real machining hours — that’s the entire economic argument for testing before steel, not after.
The practical sequence most experienced teams use: iterate cheaply on FDM or SLA prints first. These cost next to nothing and turn around in a day, so use them to lock form and fit. Once the geometry is stable, mold a small batch from an aluminum or soft-tool insert in the actual production resin. This is the one step 3D printing genuinely can’t substitute for — resin shrinkage, warp, and flow behavior only show up once material is actually injected into a cavity, not printed.
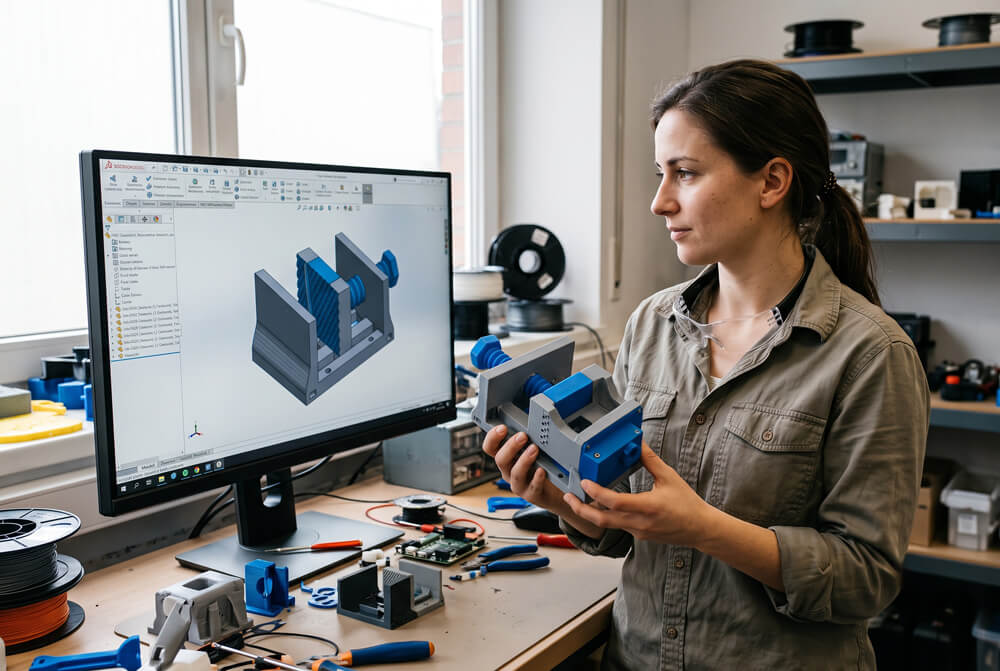
Every quote we send to a new customer includes a free DFM review before tooling starts, specifically because the fixes are nearly free at that stage and expensive after.
The Real Total Cost of Ownership: 1,000 3D-Printed Parts vs. 1,000 Injection-Molded Parts
This is the volume range where the math actually gets close, which is exactly why it causes the most hesitation. The crossover point isn’t a rule of thumb — it’s a formula: divide the mold’s tooling cost by the difference between the 3D printing cost per part and the injection molding cost per part.
Crossover quantity = Tooling cost ÷ (3D print cost per part − injection molding cost per part)
Take a mid-sized housing part. An aluminum rapid tool runs roughly $8,000 to $15,000. SLS or SLA printing that same part costs somewhere around $35–$45 per unit once material, machine time, and post-processing are counted. Injection molding it, once tooling is paid for, might run $1–$3 per part in resin and machine time. Run the numbers: $10,000 ÷ ($40 − $2) ≈ 263 units. Past that point, every additional part printed is a part you’re overpaying for.
At 1,000 units specifically, 3D printing usually loses on raw unit cost in this scenario — but total cost of ownership isn’t only unit price. Three other factors move the real number:
- Cash flow timing — 3D printing spreads cost across each order; tooling requires the full mold payment upfront, before a single part ships.
- Design lock-in — once steel is cut, further changes cost real money; a 3D-printed run stays flexible if the design isn’t fully final.
- Consistency and scrap rate — injection molded parts come off the same cavity with tight repeatability; 3D printed batches can show more part-to-part variation across print jobs or machines.
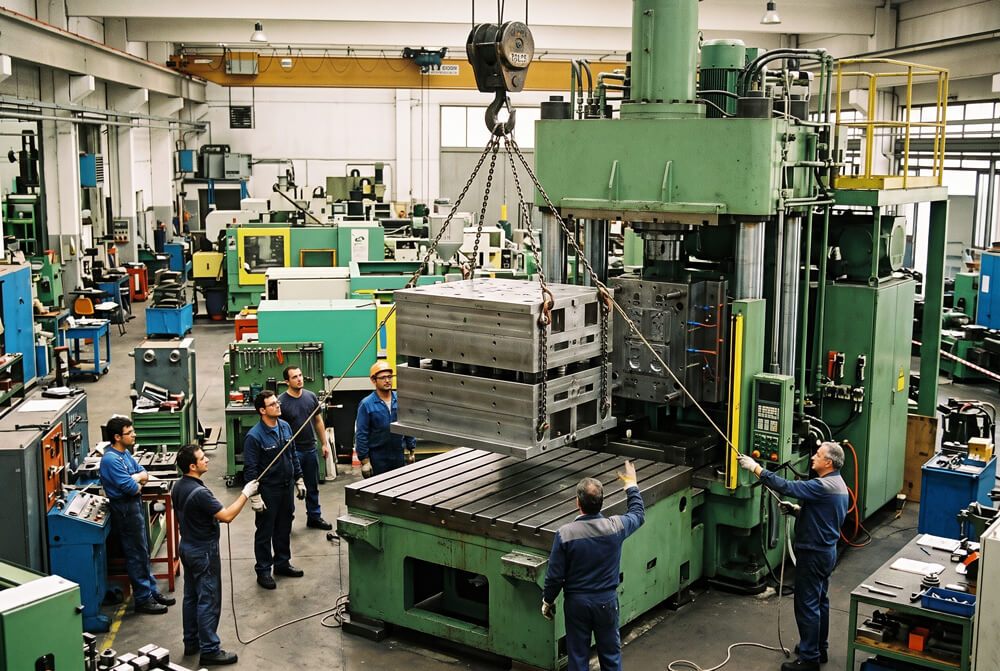
We back every production quote with material certification and inspection data through our ISO-certified quality assurance process — one input a raw per-unit price comparison usually leaves out. Consistency has a cost if you don’t build it in from the start.
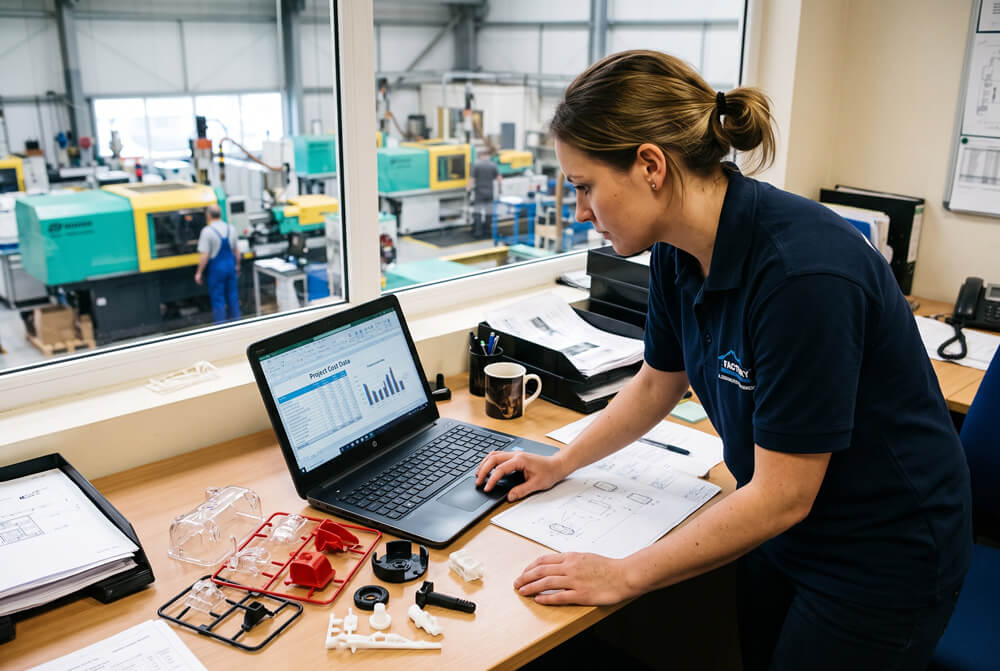
If your annual volume is genuinely uncertain, splitting the difference — a small bridge tool now, full production tooling once demand is confirmed — is often the least risky path. Our mold-making team can quote both in parallel so you’re comparing real numbers instead of estimates.
None of this makes 3D printing obsolete or injection molding overkill. They solve different problems at different points in a product’s life. The mistake is picking one before running the actual numbers for your specific part, volume, and timeline.
Frequently Asked Questions
At what quantity does injection molding become cheaper than 3D printing?
Usually somewhere between 200 and 1,000 units, though the exact number depends on part size and complexity.
- Small, simple parts often cross over around 150–300 units
- Larger or more complex parts may not cross over until 600–1,000+ units
- Formula: tooling cost ÷ (3D print cost per part − injection molding cost per part)
Are 3D printed plastic parts as strong as injection molded parts?
Not usually, and the gap depends heavily on load direction.
- FDM parts typically reach 65–90% of injection-molded tensile strength in the strongest print direction
- Across layer lines (the Z-axis), strength can drop to 40–75% of molded strength, with far lower ductility
- Injection molded parts are essentially uniform in every direction; printed parts are not
Which is faster for low-volume production: 3D printing or injection molding?
3D printing wins on raw speed; bridge tooling narrows the gap without giving up real production material.
- 3D printing: parts in hours to a few days, no tooling wait
- Aluminum bridge tooling: real injection-molded parts in roughly 1–3 weeks
- Full production steel tooling: typically several months from design freeze to first shipped parts
- For a hard deadline, bridge tooling usually beats waiting on production steel without sacrificing production-grade material
How does the surface finish of 3D printing compare to injection molding?
Injection molding produces a smoother, more consistent surface by default.
- Standard FDM: Ra 6–20 µm, visible layer lines
- SLA (best case): Ra 0.8–3 µm, smooth but still short of molded parts
- Injection molded (standard finish): well under 1 µm, and mirror-grade tooling goes even lower
- Matching a specific finish in 3D printing usually requires added post-processing time and cost
Can 3D printing replicate the exact material properties of injection-molded resins?
Rarely, for regulated or certified materials.
- Most 3D printing filaments and resins are formulated for printability, not for matching a specific engineering resin’s certification
- Medical-grade, UL-rated flame-retardant, and food-contact-certified resins are typically only available in injection-molding-grade pellet form
- If your part needs to pass a specific material certification, injection molding in the certified resin is usually the only path that satisfies it
Why would a part design pass in 3D printing but fail in injection molding?
Because the two processes have very different manufacturing constraints.
- 3D printing can build overhangs, internal cavities, and undercuts with almost no geometric restriction
- Injection molding requires draft angles, consistent wall thickness, and a way for the part to release from a two-piece mold
- A design that looks perfect printed can require sliders, lifters, or a redesign to become moldable — a DFM review catches this before it becomes a costly surprise
Not sure if your part is ready for a production tool yet?
Send your CAD file and target volume — we’ll tell you honestly whether 3D printing, bridge tooling, or a full production mold is the right call, plus a free DFM review either way.
Get a Free DFM Review