sales@yginno.com


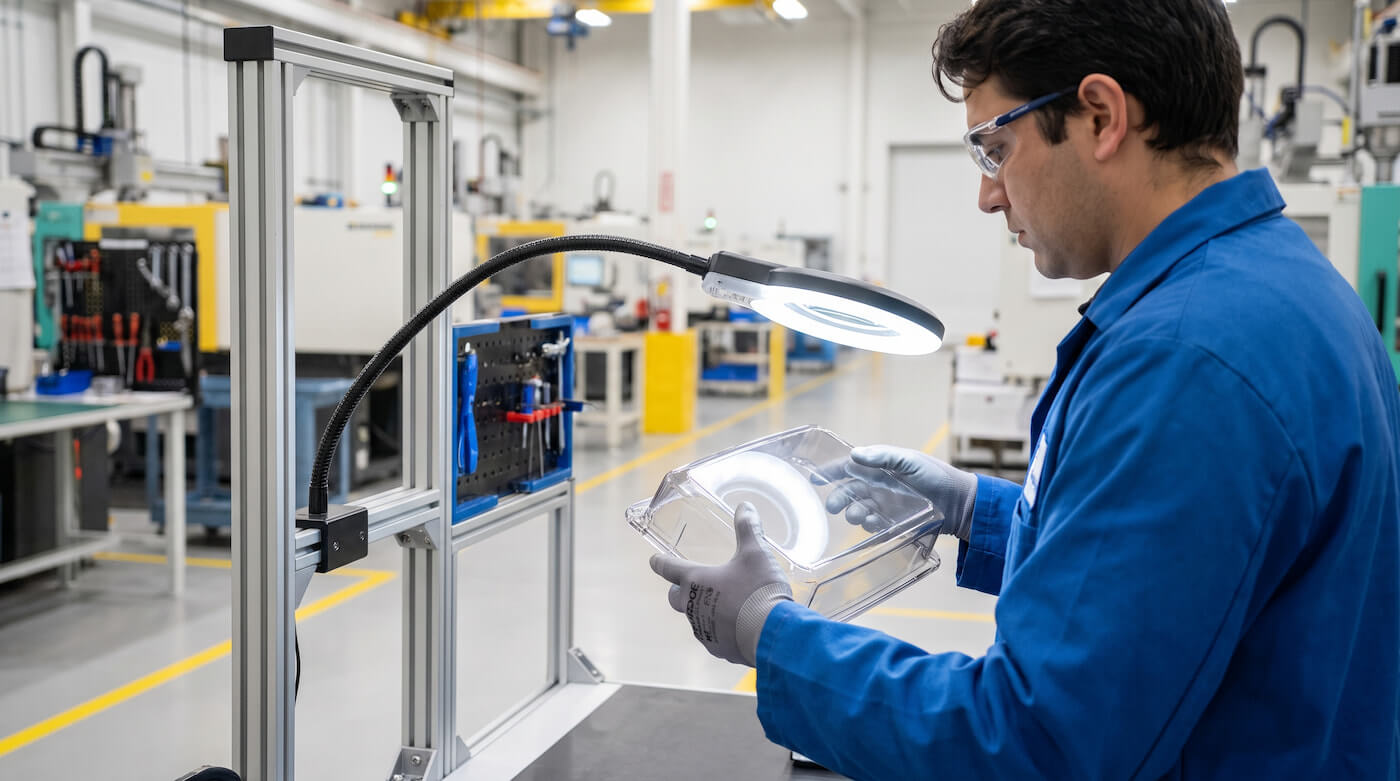
The first batch of clear polycarbonate housings I ever had to hold back came off the press looking almost fine — a faint silvery thread running from the gate toward one corner, easy to miss under regular light. The floor supervisor’s first instinct was to run the dryer longer. That would have cost us four more hours and, as it turned out, fixed nothing, because the real cause was a clogged vent, not wet resin. Silver streaks all look roughly the same to the naked eye. The four things that cause them — moisture, trapped air, thermal degradation, and material contamination — don’t share a fix, and guessing wrong is an expensive way to find that out.
Moisture, Trapped Air, or Thermal Degradation? A Field Sequence Before You Touch a Setting
Before adjusting anything, run a short air-shot into open space and look, listen, and smell. It takes under two minutes and rules out entire categories of cause. A hazy or foamy stream with a faint crackle or popping sound points to moisture flashing to steam. A brownish tint at the edges of the streak with an acrid, slightly burnt smell points to thermal degradation. A clean stream with no odor, but streaks that appear or worsen specifically near ribs, bosses, or the far end of a long flow path, points toward entrapped or decompressed air. The table below is what we hand new process techs on their first week.
| Visual Pattern | Where It Shows Up | Quick Field Test | Likely Root Cause |
|---|---|---|---|
| Feathered, comet-shaped streaks scattered across the surface; foamy or bubbled cross-section | Anywhere along the flow path, not tied to one feature | Air shot hisses or crackles; stream looks foamy | Moisture (hydrolysis / steam) |
| Fine silvery film, brownish or discolored edges, acrid smell | Thin ribs, sharp corners, or far from the gate | Smell the purge shot; compare color to a known-good pellet | Thermal degradation (shear or barrel heat) |
| Silver lines or micro-bubbles, no odor, sometimes a spray pattern near the gate | Near the gate, end-of-fill zones, ribs, bosses | Nudge back pressure up on a test shot; pattern shifts | Entrapped or decompression air |
| Streaks plus dark specks, uneven gloss, brittle purge strand | Random, often tied to a shift or specific lot | Compare against a fresh-bag purge; check regrind ratio | Contamination or degraded/mixed material |
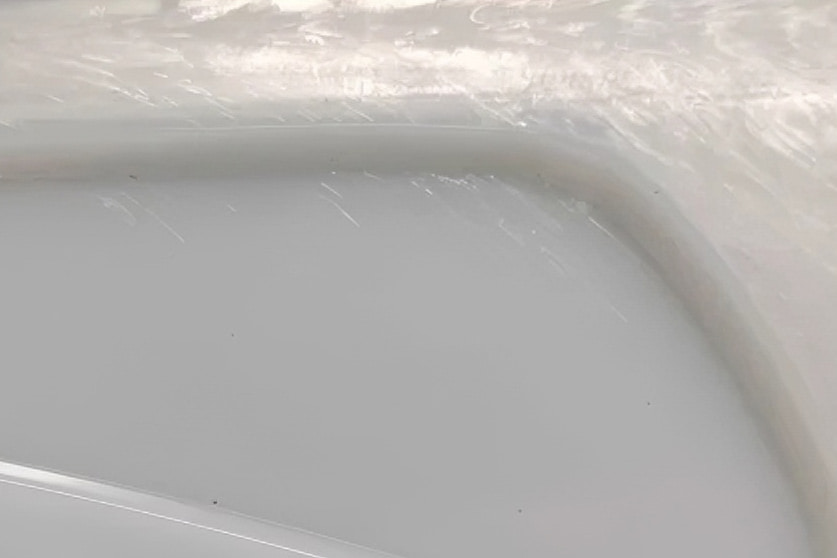
Once the sensory check narrows things down, resist jumping straight to a process fix. As PlasticsToday’s Troubleshooter column lays out for moisture-related splay specifically, the source can sit in the resin’s drying state, the mold’s own fittings, or the dryer hardware itself — which is exactly why pinpointing the category first, before extending drying time or changing barrel temperature, saves hours of trial and error. We run a four-step sequence on the floor before any parameter gets changed:
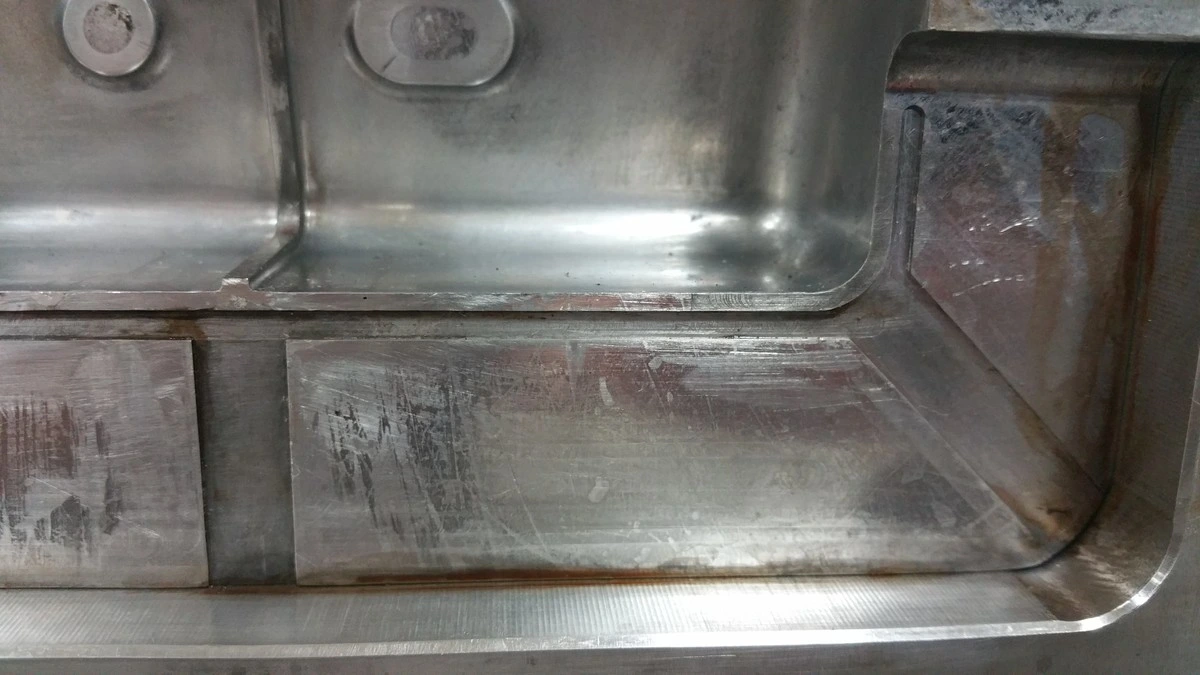
Notice the color drift in that sequence — it’s deliberate. The first two steps live on the material side; the last two live on the mold side. If a batch tests dry and the streak still lands in the exact same spot shot after shot, the trail usually leads to how wall thickness and gate sizing were handled during the original DFM review, or to how the vents were sized and cut during mold construction — both worth checking before the drying schedule takes the blame again.
Cosmetic Blemish or Structural Risk? When a Silver Streak Should Fail a Part
This is the question that actually decides whether you scrap the batch, and the honest answer is: it depends on the cause, not just the appearance. Hydrolytic splay — moisture reacting with a hygroscopic resin like PC, PA, or PET under heat — breaks polymer chains through a reaction called chain scission. That lowers molecular weight, and impact strength and elongation at break fall off first and hardest, often well before tensile strength shows anything obvious on a basic pull test. A part can look dimensionally fine and still snap under a drop or a snap-fit assembly stress it would normally shrug off. Thermal-degradation splay behaves similarly through the same chain-scission mechanism, just triggered by heat and shear instead of water. Protolabs’ own defect guidance makes the same point directly: splay tied to excess moisture is often more than a cosmetic issue, because it can affect the material’s underlying mechanical properties.
Air-entrapment splay is the outlier — closer to a genuine surface issue, unless the trapped void is large enough to sit right on a load path and act as a stress riser. That distinction is exactly why the diagnostic step matters more than the streak’s size.
A fast field check that costs nothing: pull a scrap part from the same shot and do a hand flex or snap test near the defect, compared against a known-good part. A dulled, brittle break instead of a normal flex is a strong signal the resin degraded, not just splayed on the surface. If the part is a running production program, it’s worth having the plan for a proper judgment call in writing ahead of time rather than deciding it shot-by-shot — see how we grade cosmetic versus functional defects for the classification system we use to keep that decision consistent across a full order instead of leaving it to whoever is on the inspection bench that day.
What a Reliable Supplier’s Drying and Barrel Controls Should Actually Look Like
If you’re vetting a molder for a high-gloss or transparent part — a display case, a headset shell, anything where one streak means the whole part gets rejected on sight — ask to see the drying and residence-time controls in writing, not just a verbal assurance. Two areas separate a shop that occasionally fights splay from one that rarely sees it.
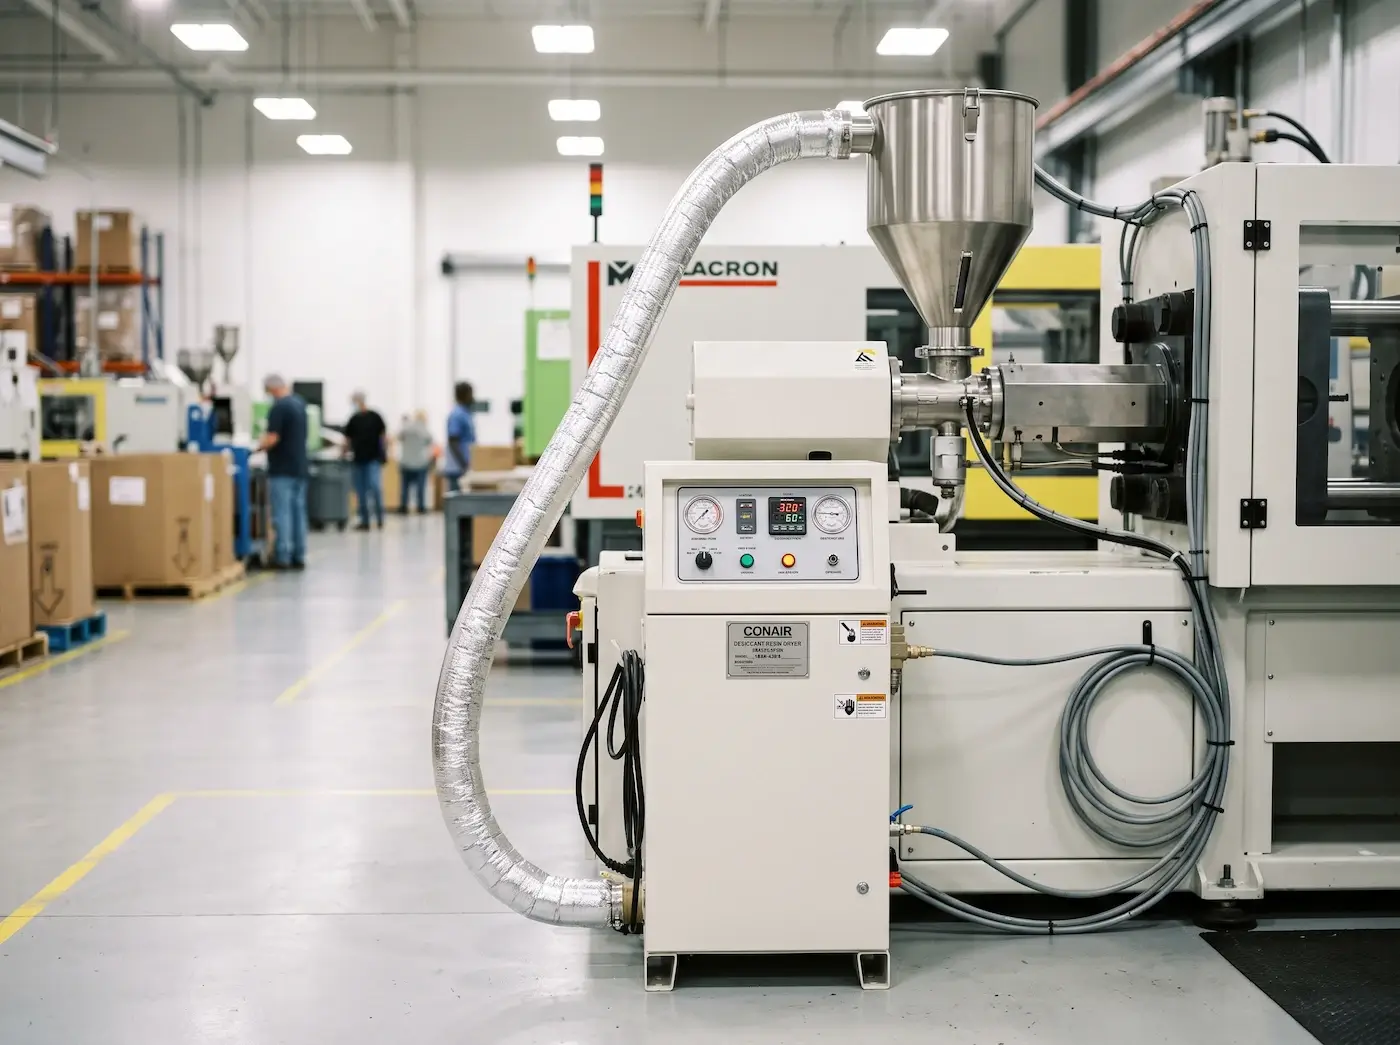
- Desiccant dryer for hygroscopic resins, with monitored dew point — typically -40°C or lower for engineering grades, not a basic hot-air unit
- Documented drying temperature and time per resin per the technical data sheet (as a general benchmark: PC around 120°C for 3-4 hours, PA6/66 around 80°C for 4+ hours, ABS around 80-85°C for 2-3 hours — always confirmed against the specific grade, not a generic house setting)
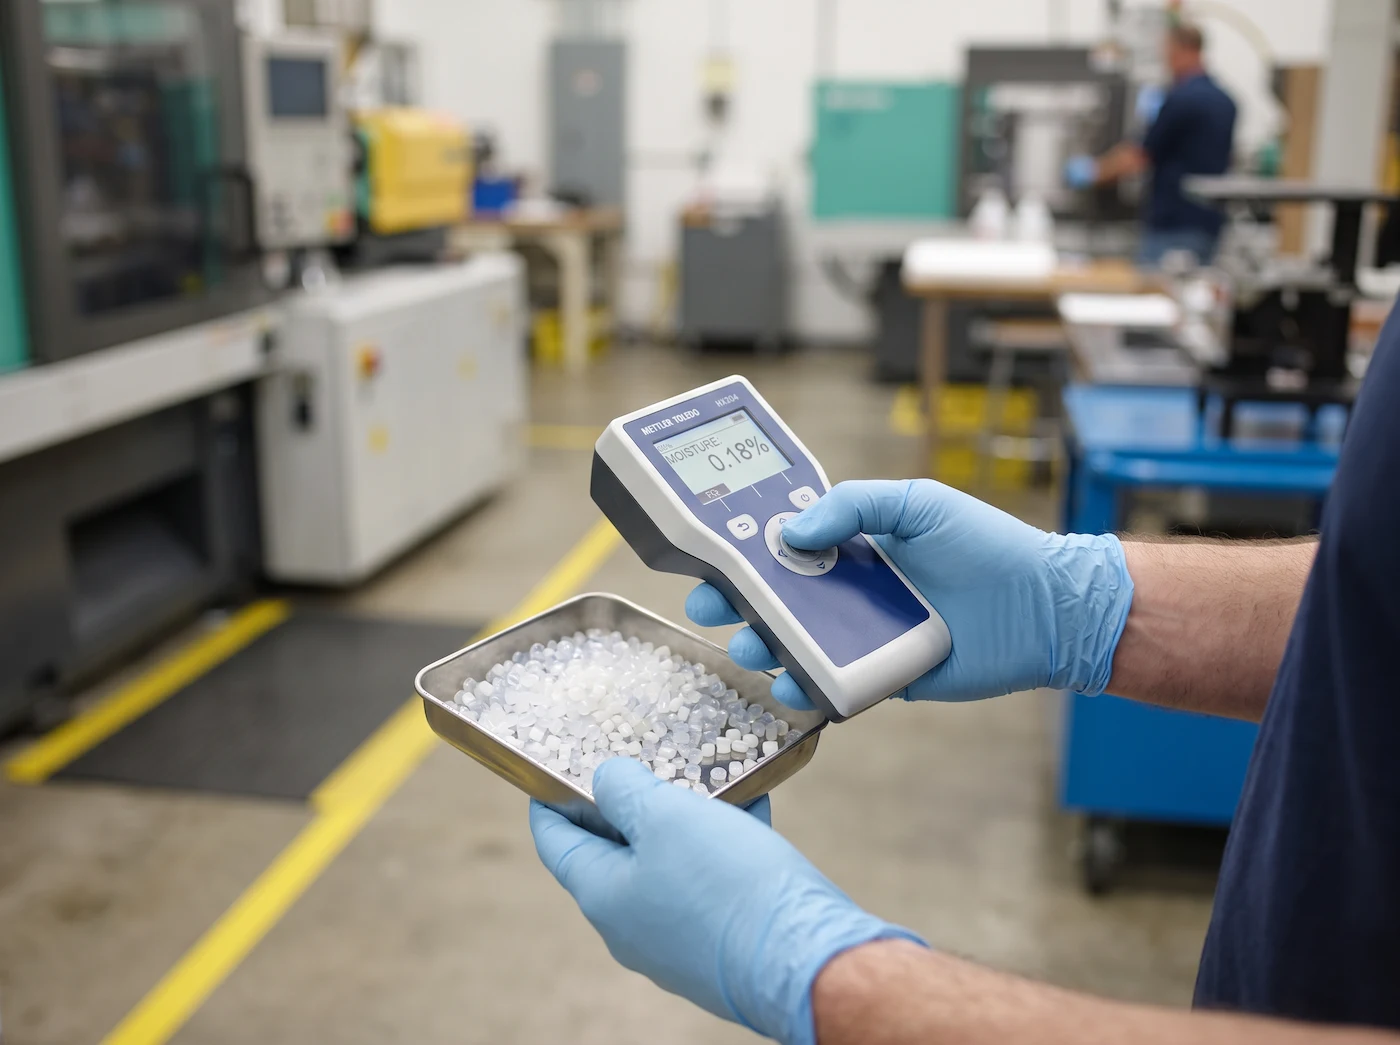
- Moisture verified with a handheld or benchtop analyzer before molding, not just trusted from the dryer display
- Insulated, sealed hopper handling — material can start reabsorbing moisture within an hour once exposed, especially in humid climates
- Shot weight sized appropriately to barrel capacity — as a rule of thumb, roughly 30-70% of the barrel’s rated shot size, so material isn’t idling for extended cycles
- Machine-to-mold matching that keeps heat-sensitive resins from sitting in the barrel between shots
- Barrel temperature profile documented against the resin’s data sheet rather than reused across unrelated materials
- Scheduled check-ring and nozzle maintenance — a worn check ring lets melt recirculate and quietly extends residence time
This is essentially what our own incoming material and process QA program checks before a hygroscopic resin ever reaches the barrel, and it’s a reasonable list to ask any supplier to walk through before you commit tooling budget to a cosmetic-critical part.
Frequently Asked Questions
What causes silver streaks in injection molding?
Silver streaks, also called splay, come from gas trapped in the molten resin as it fills the cavity. There are four common sources:
- Moisture in the resin turning to steam under barrel heat
- Air trapped or pulled into the melt during screw recovery or filling
- Thermal degradation from excess heat, shear, or residence time
- Contamination from foreign material or an inconsistent regrind ratio
How do you fix silver streaks (splay marks) in plastic injection molding?
The fix depends entirely on which of the four causes is confirmed — there’s no single setting that resolves all of them.
- Moisture: dry to the resin’s TDS spec and verify with a moisture analyzer before molding again
- Air: raise back pressure, slow screw recovery speed, and check the nozzle seal
- Degradation: lower melt temperature and reduce residence time in the barrel
- Contamination: purge thoroughly and tighten control over regrind ratio and material source
- If none of these clear it, check mold venting and gate sizing next
Why do silver streaks still appear even after drying the resin thoroughly?
If splay persists after drying is confirmed correct, the cause usually isn’t the material anymore — it’s mechanical. Common culprits include insufficient or blocked mold vents, a gate that’s too small and generating shear heat, a mold hot spot from uneven cooling, or a worn check ring letting air into the melt. Our guide to current mold construction standards covers how vent depth and gate sizing are typically specified to avoid exactly this situation.
How can you tell if silver streaks are caused by moisture or overheated resin?
An air shot into open space gives a fast read on both.
- Moisture: a hissing or crackling sound, a foamy or hazy stream, and streaks spread broadly across the part
- Overheated/degraded resin: an acrid or burnt smell, brownish or discolored streak edges, often concentrated near thin ribs or the end of a long flow path
Can poor mold venting cause silver streak defects?
Yes. When trapped air can’t escape a cavity fast enough, it compresses under injection pressure and can heat sharply enough to scorch the surrounding melt — a phenomenon often called dieseling — leaving streaks that look almost identical to moisture splay. Vents near the parting line are cut extremely shallow, typically only a few hundredths of a millimeter deep, precisely enough to let gas escape without letting plastic flash through. Vents clogged with carbon buildup or residue lose that capacity over time, which is why a regular cleaning schedule matters as much as the original vent design.
What’s the difference between silver streaks (splay) and weld lines?
They look different up close and come from unrelated mechanisms.
A splay investigation looks different depending on whether you’re firefighting a live production issue or specifying a new cosmetic part before tooling is cut.