
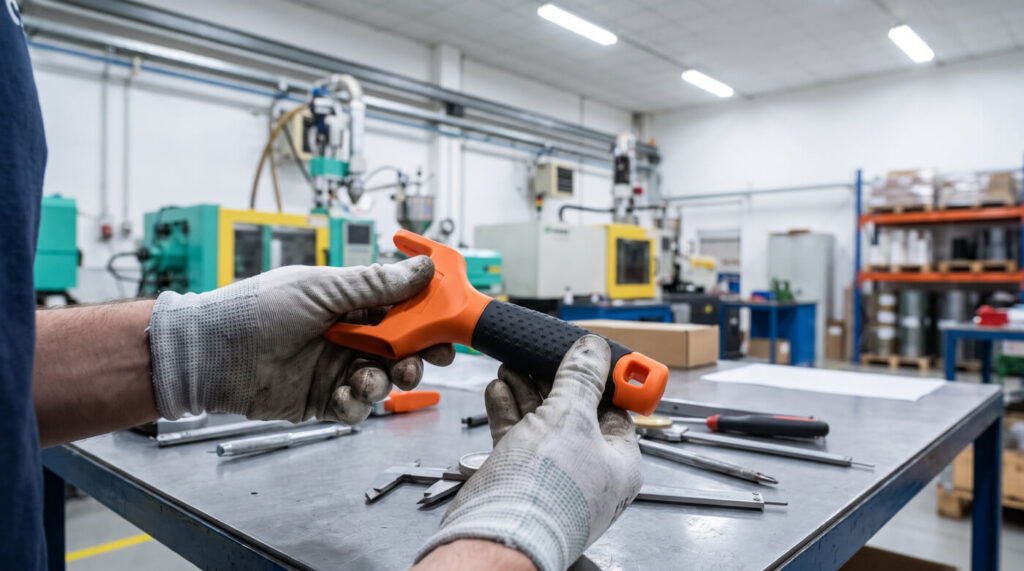
Pick up almost any power tool, toothbrush, or remote control and run a finger from the hard plastic body onto the rubbery grip section. That transition — hard shell, soft touch, no visible seam or screw — is overmolding. A rigid plastic part gets molded first, then gets placed back into a press where a second material, usually a TPE or TPU, is injected directly onto its surface. Done right, the two materials fuse into one part that feels, seals, and survives drops better than either material could alone. Done wrong, that same soft layer peels off in someone’s pocket six months after launch.
Most buyers get the concept quickly. Where projects actually stall is in the three decisions that determine whether the part holds up: which materials will actually bond, which production method fits the order volume, and how tight the mold steel needs to fit before flash or crushing becomes a problem. Those three questions are worth more engineering attention than the basic “what is overmolding” definition — so that’s where this guide spends most of its time.
Will the Soft Layer Peel Off? Chemical Bonding vs. Mechanical Interlocks
Delamination — the soft overmold separating from the rigid substrate after weeks or months in the field — is the failure mode that keeps sourcing managers up at night, and it almost always traces back to one root cause: the two resins were never truly compatible in the first place. Polymers bond best to polymers with a similar chemical structure. According to Fictiv’s overmolding materials guide, styrenic TPEs bond strongly to ABS and polycarbonate because they share a compatible surface chemistry, while polyurethane-based TPU also adheres well across PC and ABS substrates thanks to its polar chemistry — but polypropylene is a different story, since its very low surface energy makes it one of the hardest substrates to bond an overmold to without help.
That “without help” is the part worth designing around early. A few practical rules hold up across most substrate and overmold pairings:
- SEBS-based TPEs bond naturally to PP and PE — the same low-surface-energy chemistry that makes those substrates hard to bond in general works in your favor if the TPE grade is PP-based too
- TPU and PC-bonding TPE grades are the default for ABS and polycarbonate substrates
- Nylon (PA6/PA66) needs an amide-compatible TPE or TPU grade — standard grades formulated for ABS or PC often won’t hold on nylon at all
- Glass-filled substrates lose surface bonding area to exposed fibers, which lowers peel strength even with an otherwise-compatible resin pair
Before any tooling is cut, ask the molder for the actual resin compatibility data behind the material pairing — not a general assurance that “TPE bonds to plastic.” Material makers publish grade-specific compatibility charts precisely because bonding is not a universal plastic-to-plastic property; it depends on the exact substrate resin, the exact overmold grade, and often the surface preparation.
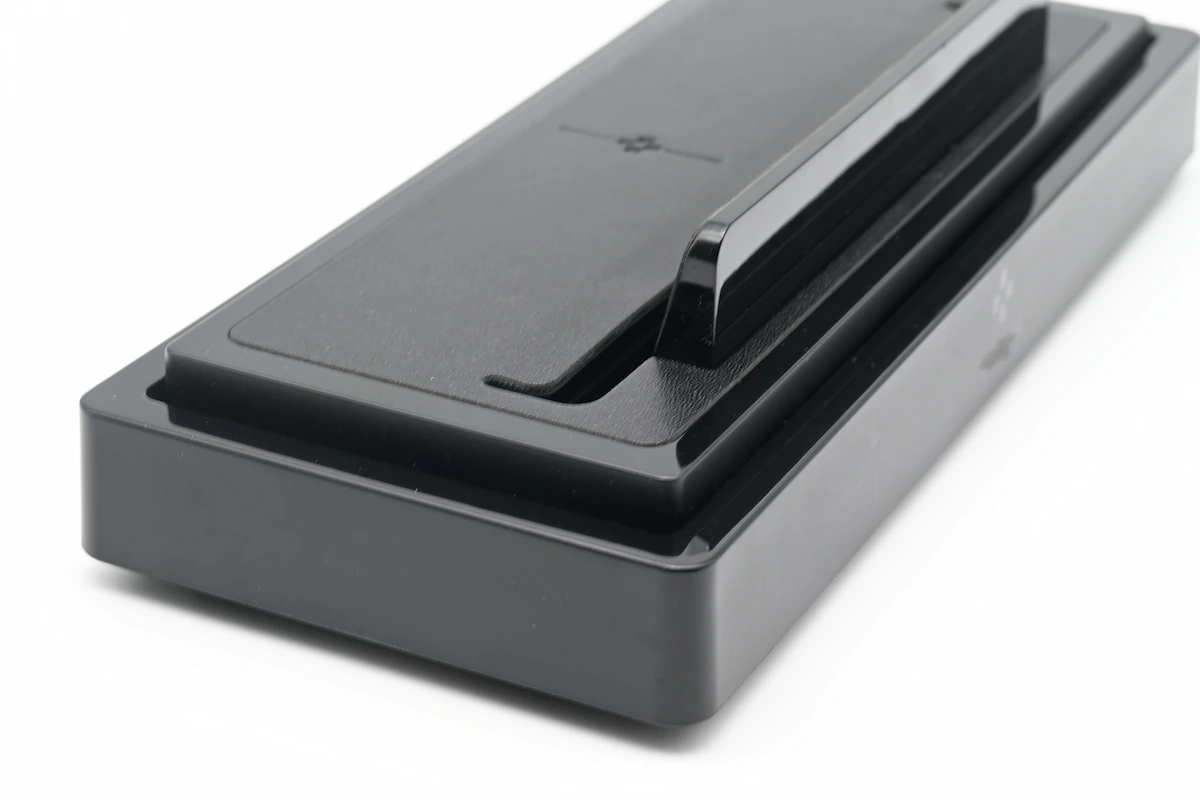
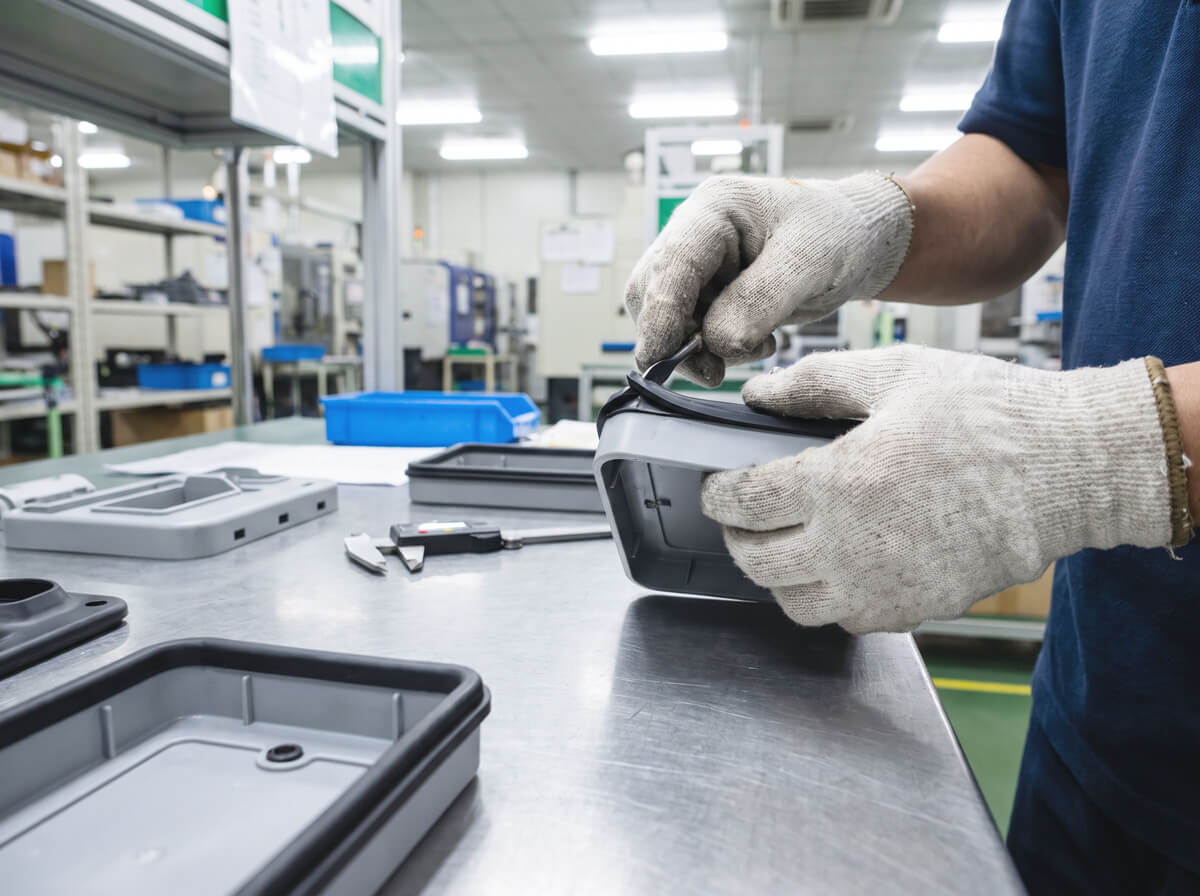
Chemical bonding shouldn’t be the only line of defense, especially on a substrate-overmold pairing that’s only marginally compatible. Mechanical interlocks — through-holes the overmold flows through and locks into, undercut grooves, raised mesh or waffle texture on the substrate, and simple edge-wrap geometry — give the joint a physical anchor that holds even if the chemical bond alone would eventually creep or fatigue. On a part like the insert-molded PC-and-TPU slab protector we built for a trading card accessory client, that combination of a compatible resin pair plus a mechanically locked frame edge is exactly what keeps the two materials from separating under repeated handling.
| Substrate | SEBS / Styrenic TPE | TPU |
|---|---|---|
| PP / PE | Strong (matched grade) | Needs surface treatment |
| ABS / PC | PC-bonding grade needed | Strong (natural fit) |
| Nylon (PA6/66) | Standard grades fail | Amide-compatible grade needed |
Two-Shot (2K) or Pick-and-Place Overmolding? Where the Volume Math Flips
This decision gets made backwards more often than any other in overmolding: teams quote 2K tooling first because it sounds more advanced, then discover the mold cost doesn’t make sense for their order size. The two processes solve the same problem — bonding a soft material to a rigid one — through very different equipment and cost structures.
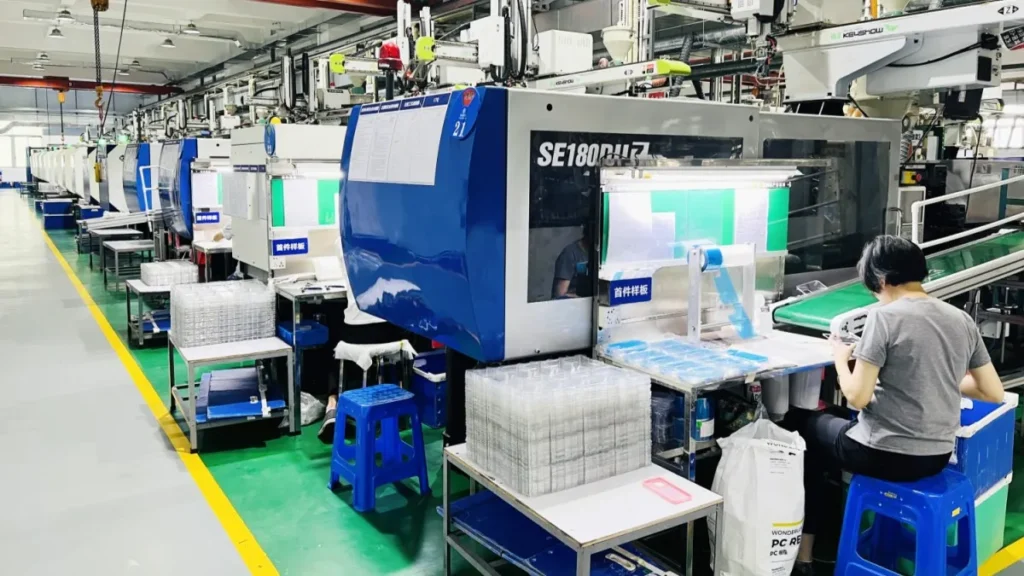
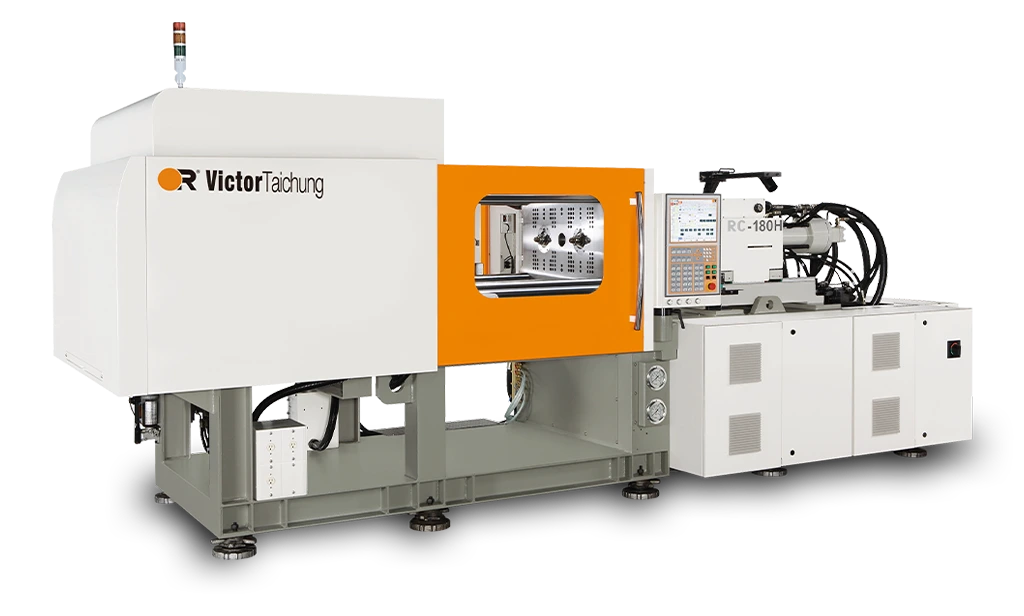
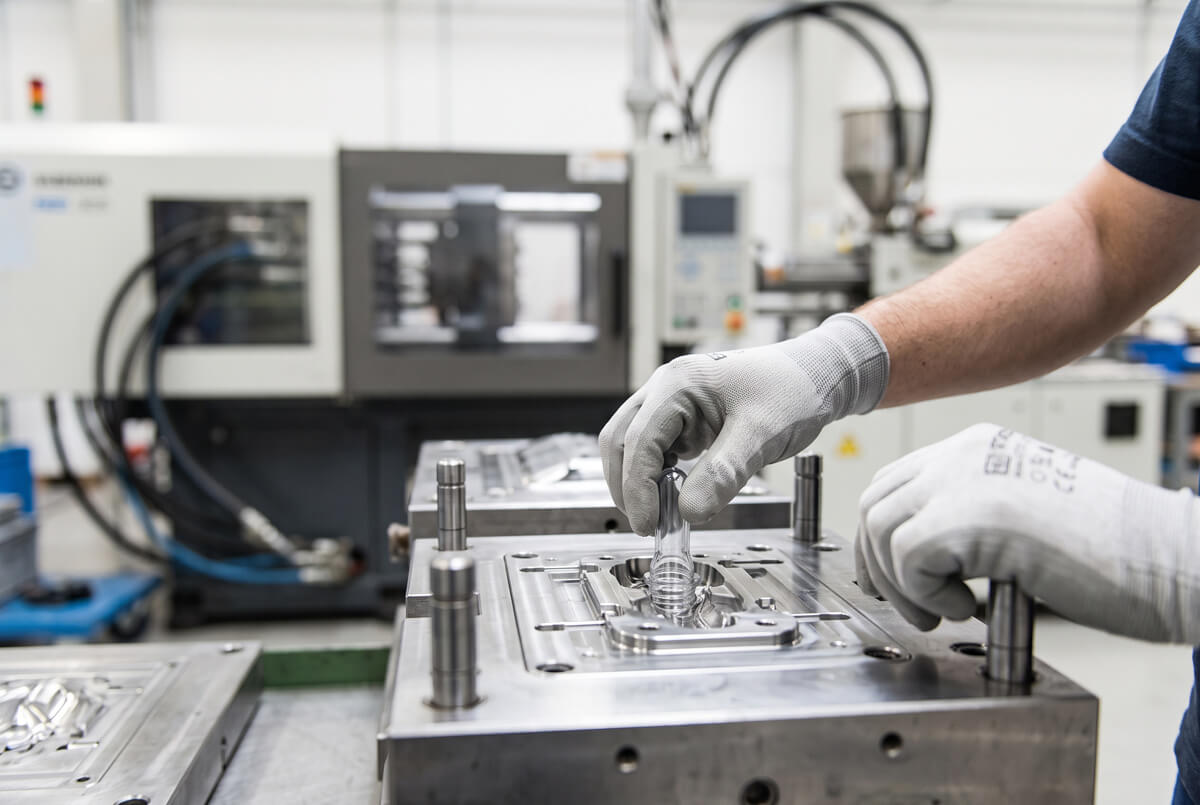
Two-shot (2K) molding runs both materials in a single machine fitted with two barrels and a rotating or indexing mold. The substrate shot fires, the mold rotates or a core retracts, and the overmold shot fires into the newly exposed cavity — all in one automated cycle, no human hands involved. Pick-and-place overmolding uses two separate, simpler single-shot molds: the substrate is molded, cooled, and then loaded — by hand or robot — into a second mold that overmolds it.
- Higher tooling cost (rotating/indexing mold, dual-barrel press)
- Fully automated, no manual handling
- Shorter cycle time, lower per-piece cost at volume
- Less flash/placement variance since there’s no manual transfer step
- Lower tooling cost — two simple single-shot molds
- Manual or robotic transfer between shots
- Longer cycle time; more sensitive to handling consistency
- Substrate can be run on a separate press or schedule
On where the crossover sits, Protolabs’ overmolding design guide puts it plainly: two-shot processes are cost-effective for high-volume production, typically above 10,000 pieces and often not worth the tooling investment until well past 100,000 — because the automation only pays for itself once per-piece savings are multiplied across a large enough run. Below that range, pick-and-place tooling is usually the more sensible starting point, especially for a first production order or a part that’s still likely to change.
If you’re not yet sure which side of that line your program will land on, it’s worth validating fit and bond quality on lower-cost rapid tooling before committing to a production-grade 2K mold — a cheaper aluminum tool set can confirm the design works before the bigger tooling investment gets made.
Precision Shut-Off Design: Stopping Flash Without Crushing the Substrate
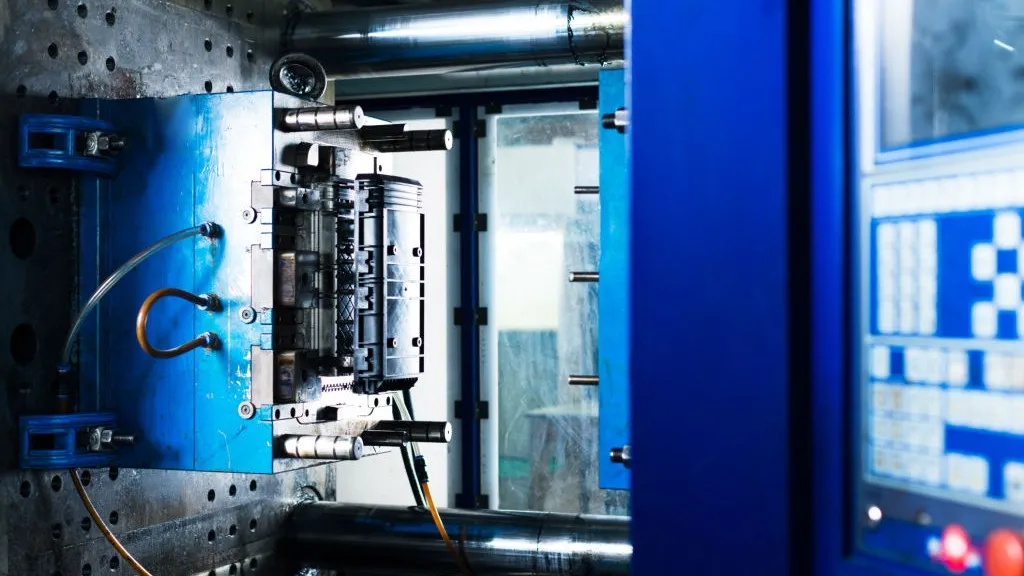
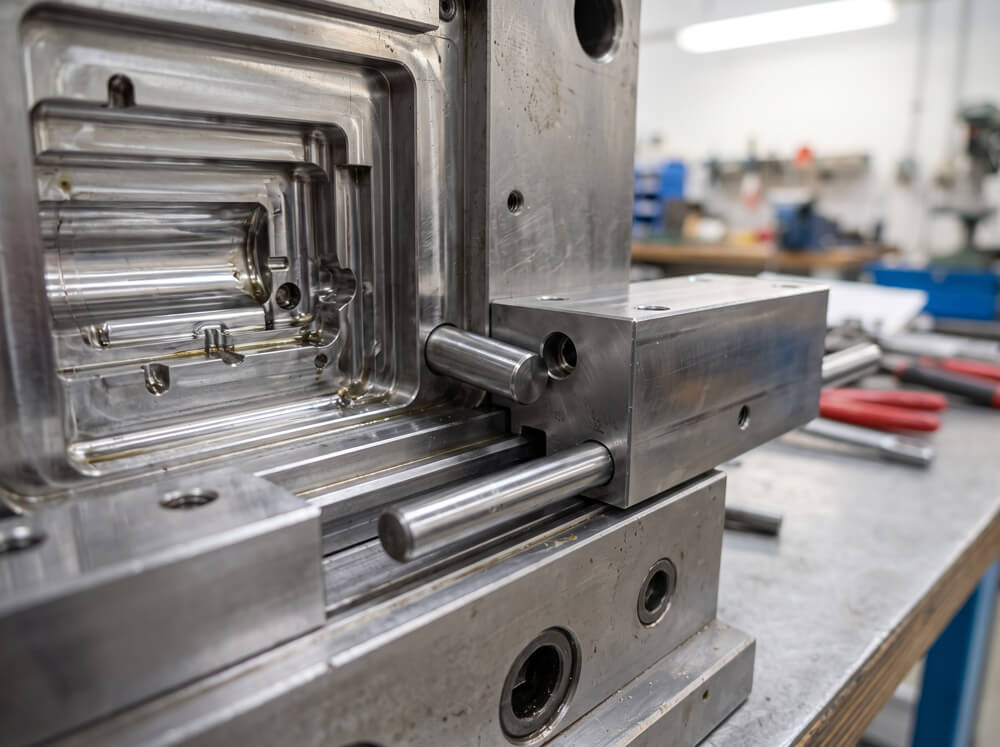
This is the detail that separates a clean overmolded part from one with a visible ring of rubber flash, or worse, a dented, whitened stress mark where the substrate got crushed. When the mold closes for the second shot, a section of steel has to rest directly against the surface of the already-molded substrate — the shut-off line — to seal the cavity and stop the molten TPE or TPU from bleeding past the edge.
The fix isn’t a broad flat surface pressed hard against the part — that’s exactly what crushes or leaves a witness mark on a cosmetic substrate. Experienced mold builders instead cut a narrow, precisely fitted contact band, sometimes with a small engineered crush allowance on a controlled strip rather than the full shut-off face, so the sealing force concentrates where it’s needed without stressing the whole surface. Getting there is rarely a one-shot process: mold makers commonly leave the steel “safe” — slightly oversized — on the first trial, run sample parts, measure exactly where flash or crush shows up, and steel-safe adjustments back from there rather than guessing the final fit on the first cut.
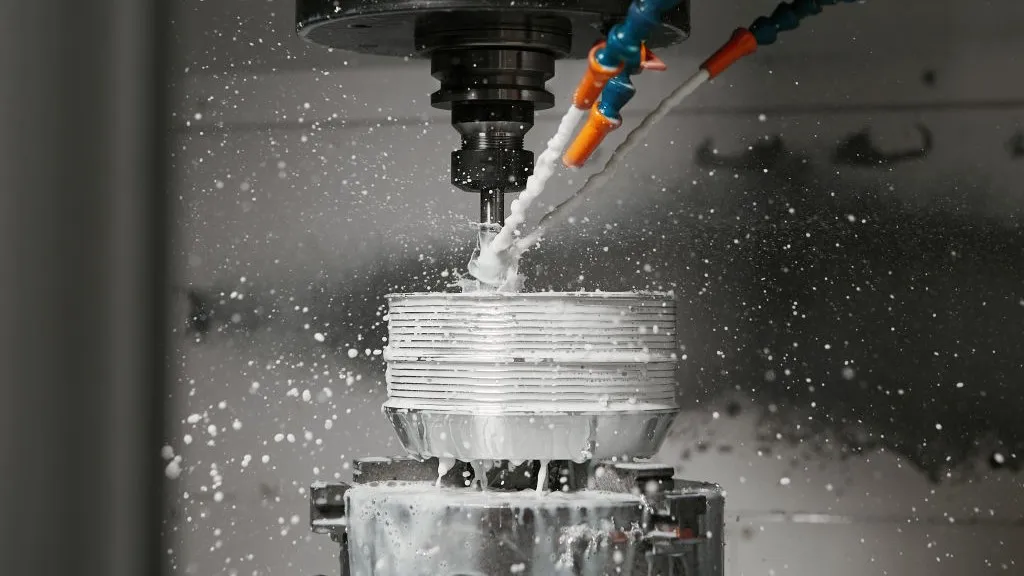
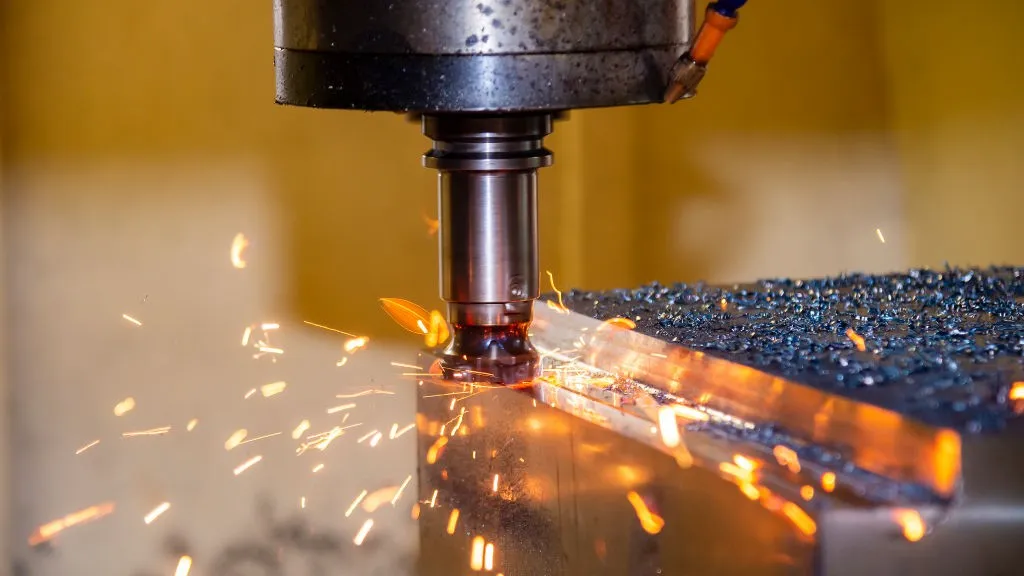
None of this works if the substrate itself isn’t dimensionally consistent shot to shot. A shut-off surface fitted perfectly to one substrate sample will crush a part that’s running toward the high side of its tolerance and flash on one running toward the low side — which is why substrate dimensional control matters as much to a clean overmold as the second-shot tooling does. This is the same category of fitting discipline covered in our mold construction process, where shut-off and parting-line fit get dialed in through iterative sampling rather than assumed correct from the CAD model alone.
Frequently Asked Questions
What is overmolding in plastic injection molding?
Overmolding is an injection molding process where a second material is molded directly onto an already-molded rigid part, called the substrate. The most common use is injecting a soft TPE, TPU, or liquid silicone layer over a rigid plastic like ABS, PC, or nylon to add:
- A soft-grip surface for handles, tools, and remotes
- Shock absorption and drop protection for edges and corners
- A watertight seal, often used for IPX-rated enclosures
- A two-material, two-color cosmetic finish without paint or assembly
What is the difference between overmolding and insert molding?
The terms describe what gets placed into the mold before the plastic is injected around it. Overmolding almost always refers to molding one plastic or rubber-like material over another already-molded plastic part. Insert molding refers to molding plastic around a non-plastic insert — most commonly a metal nut, threaded stud, terminal, or wire lead — that’s placed into the mold before the shot. Some projects combine both in the same part.
What is the difference between 2-shot molding and overmolding?
Overmolding is the broader category; 2-shot (2K) is one specific way to do it. Overmolding can be produced either through 2-shot molding — a single machine with two barrels and a rotating or indexing mold completing both shots automatically in one cycle — or through pick-and-place overmolding, which uses two separate single-shot molds and a manual or robotic transfer step between them. 2-shot needs more specialized equipment and higher tooling investment; pick-and-place needs simpler tooling but more handling.
What materials can be used together in overmolding?
Compatibility depends on matching the overmold resin’s chemistry to the substrate, not just picking “a TPE” or “a TPU” generically.
- PP or PE substrate → PP-based SEBS/TPE for a strong natural bond
- ABS or PC substrate → TPU or a PC-bonding TPE grade
- Nylon (PA6/PA66) substrate → an amide-compatible TPE or TPU grade specifically formulated for nylon
- Low surface-energy substrates like PP without a matched grade → usually need surface treatment or mechanical interlocks to hold at all
Why is overmolding more expensive than standard injection molding?
Overmolding costs more because it’s effectively two molding processes built into one part. The main cost drivers are:
- Two mold builds (or one more complex rotating/indexing mold) instead of one
- Longer overall cycle time, since the substrate has to be molded, often cooled, then overmolded
- Higher raw material cost for engineering-grade TPE or TPU compared to standard resins
- Added labor or robotics cost for loading substrates in pick-and-place production
What is the ideal wall thickness for overmolded TPE layers?
Most TPE overmold layers work best in roughly the 1.5–3.0 mm range, though the right number depends on the part’s size and flow length. Go much thinner than about 1.0 mm and the melt struggles to flow into the cavity before freezing off, leaving short shots and a thin, hard-feeling grip. Go much thicker than about 3.5 mm and cooling time climbs, sink marks become more likely on the substrate side, and the part uses noticeably more of an expensive engineering resin than it needs to.