
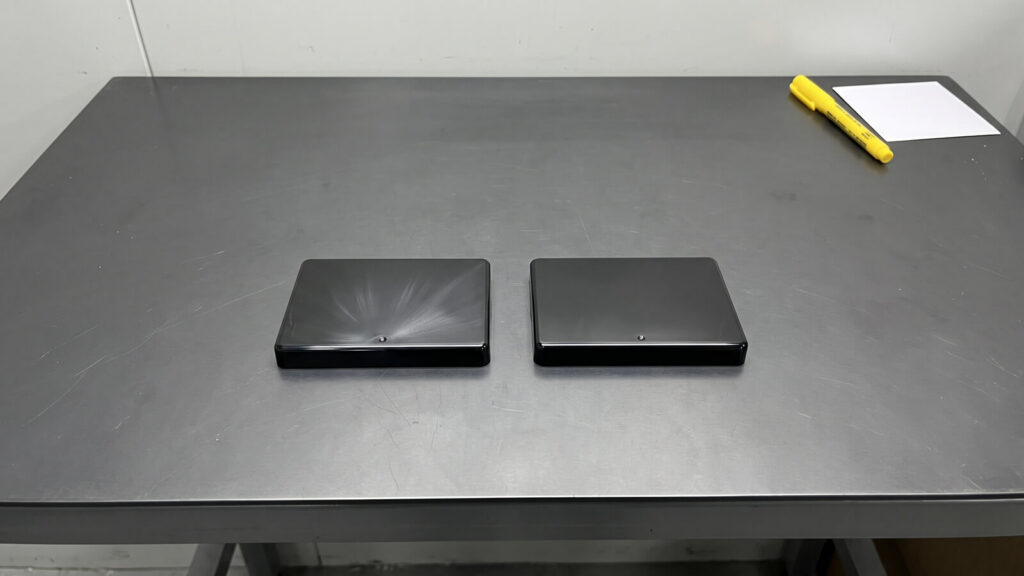
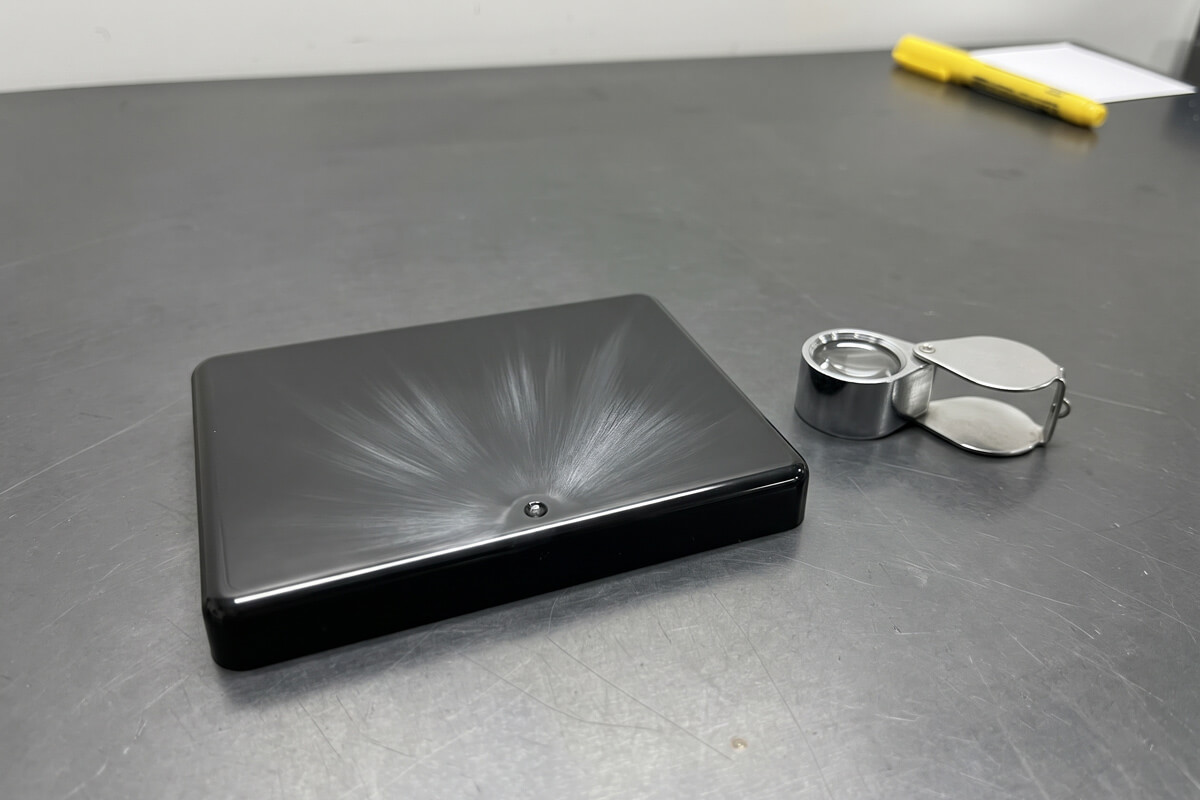
Splay is the silver, white or cloudy streaking that runs along the flow direction on a molded surface, also called silver streaks (our page on silver streak injection molding is a companion to this one). It looks like a single defect, but it has several different mechanisms, and fixing the wrong one wastes days. The most common mistake is raising dryer temperature when the real cause is shear. This guide is built around diagnosis: how to tell the causes apart, what each test proves, and what a buyer should expect from a molder who says “we adjusted the machine.”
Five Root Causes, and the First Test for Each
Moisture, heat, shear, air and contamination are the usual five, as classified in Chemtrend’s 2024 overview of splay. Appearance alone cannot tell you which one you have. Eastman’s troubleshooting guide makes the same point: test each suspect to prove or rule it out before changing anything.
| Cause | What is happening | Typical clue | First test |
|---|---|---|---|
| Moisture | Water flashes to steam in the melt | Moves around shot to shot, or covers the whole part; foamy purge | Re-run with freshly dried resin |
| Heat | Overheated or long-resident resin off-gases | Shiny scattered streaks, odor, worse after stoppages | Check actual melt temperature and residence time |
| Shear | Fast flow through a small gate or sharp feature overheats the melt locally | Same place every shot, tied to gate or geometry | Slow the injection speed in that segment |
| Air | Air drawn in at the nozzle, or trapped in the tool | Bubbles with foamy tails, at start or end of fill | Reduce decompression, inspect venting |
| Contamination | Another material or volatile additive in the melt | Specks plus streaks, after a material change or regrind | Purge, check the puddle, run virgin only |
Location inside the fill is the second clue. Streaking near the gate, in the middle, or at the end of the flow path points to different suspects.
Decompression air, nozzle or hot-runner drop, small gate, cold slug
Shear at thickness changes and sharp corners, fast speed profile
Trapped air, poor venting, speed too high at the end
Moisture: The Usual Suspect, and Often a Dryer Problem
Hygroscopic resins such as PA, PC, PET, ABS, PBT and PMMA absorb water from the air and must be dried to the grade datasheet. Non-hygroscopic resins like PP and PE can still carry surface moisture, for example when cold pellets come into a humid hall and condense. Before blaming the resin, check the drying chain in this order:
Dew point, not set temperature. A desiccant dryer is typically specified around a -40 °C dew point. A tired desiccant bed can deliver far wetter air while the temperature display still looks right. Time. Drying time counts from when the pellets reach temperature, not when the dryer is switched on. Everything after the dryer. Open hoppers, long hoses, and resin left standing on the press for an hour or more can re-absorb water. Feeling the hoses helps: the supply line should be hot and the return warm. The mold itself. A sweating cavity or a leaking water fitting produces streaks with perfectly dry resin.
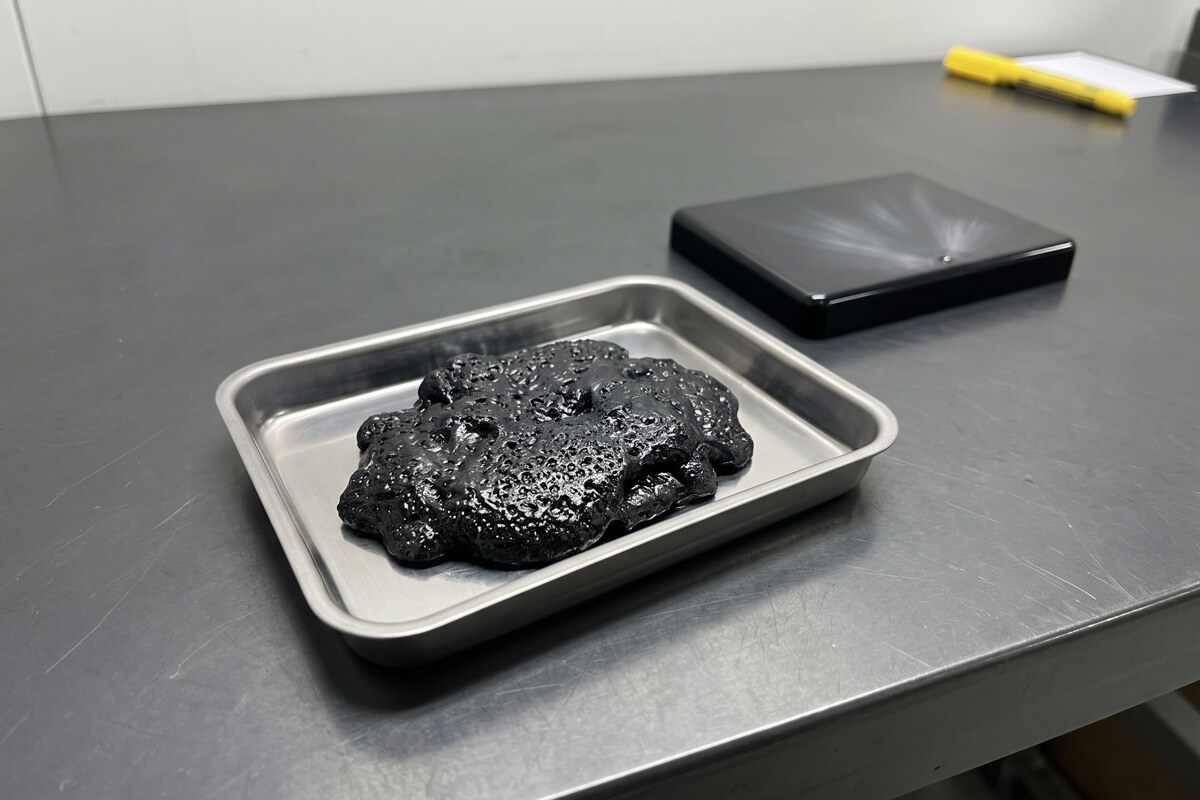
One caution: no splay does not prove dry resin. In PC, PET and PA, moisture can break polymer chains through hydrolysis at levels too low to streak the surface, so strength-critical parts deserve a moisture reading, not just a visual check.
Heat and Shear: When the Process Is Cooking the Resin
If the resin tests dry, look at thermal history. Barrel temperature actuals may differ from setpoints, back pressure that is too high heats the melt in the compression zone, and a screw that rotates too long leaves material sitting against hot heater bands. Residence time is the easiest number to calculate and the most often skipped:
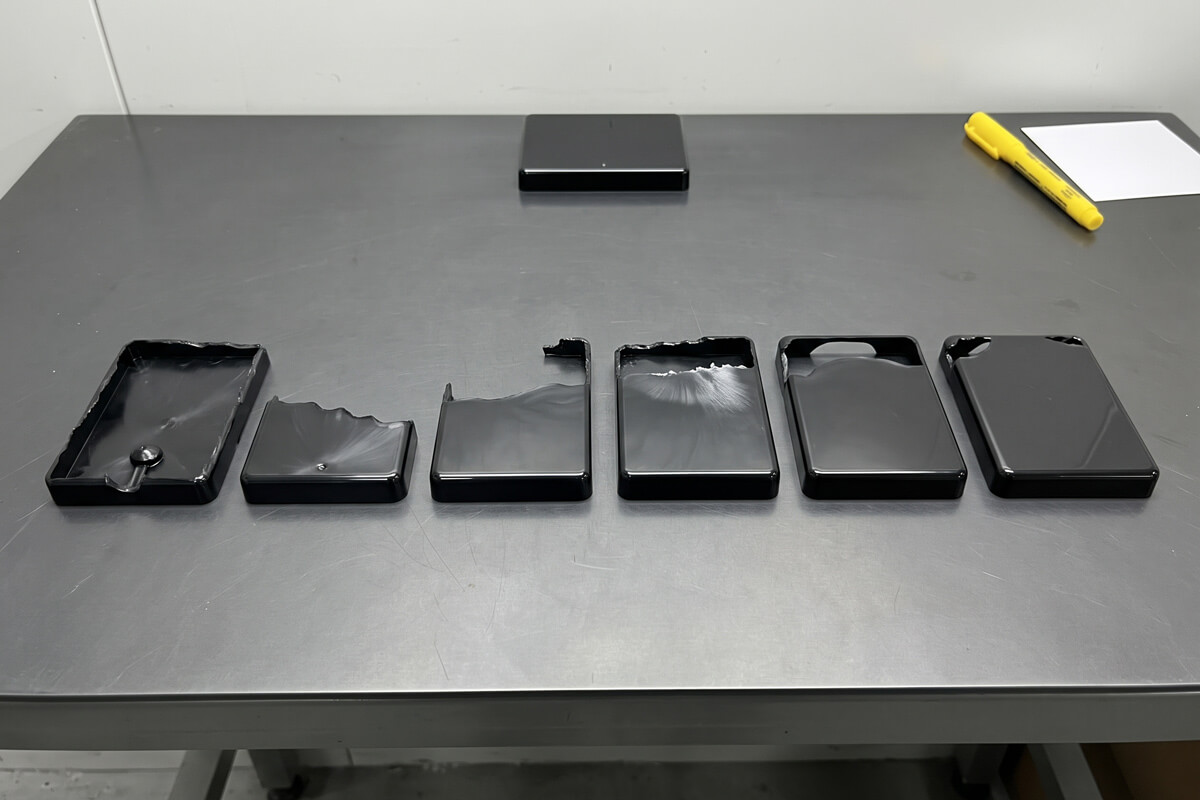
Shear splay is different: it comes from forcing melt through a restriction too fast. It is usually tied to a gate, nozzle tip or sharp corner, and it appears in the same place on every shot. A series of short shots shows exactly where the flow front is when the streaks form, and slowing the injection speed in that segment, one change at a time, confirms the diagnosis.
Back pressure deserves its own note because it cuts both ways. Too low, and moisture and air are not squeezed out during recovery; too high, and shear heat degrades the resin. Whatever you change, change one variable at a time and let the process settle before judging. A back-pressure change in particular needs a good twenty minutes or so to reach a new heat-soaked condition, so a quick look at the next few shots can mislead.
Air and Contamination: Gas That Came in With the Material
Air enters in three ways: through decompression (suck-back) that is too fast or too far, which pulls air into the nozzle; trapped in the screw during recovery; or trapped in the tool when vents are blocked or too shallow. Our guide to making a perfect injection mold covers vent depth and how to check it.
Contamination is the odd one out. Residual resin from the previous job can cause streaking, as Chemtrend describes when a machine moves from PC to transparent PMMA, because the two polymers do not mix. Regrind, and colorants or additives that release volatiles, add to the list. When a splay problem starts right after a material change, purge thoroughly and run virgin resin only for the test. Our guide to injection molding plastics explains how to verify what actually went into the hopper.
Design and Tooling Choices That Raise Splay Risk
Not every splay problem belongs on the process sheet. Some are built in at DFM stage: gates sized too small for the shot, sharp internal corners in the flow path, thin walls that demand high fill speed, vents placed away from the last-fill area, and hot-runner drops with hot spots. If splay keeps coming back after the process is corrected, the tool deserves a second look. These rules are covered in how to design for injection molding and hot runner injection molding, and the wider defect list is in our plastic molding defects and remedies page.
What to Ask Your Molder When Splay Appears
“We adjusted the machine” is not a root cause. A molder who has actually diagnosed splay can show evidence, and you can ask for it:
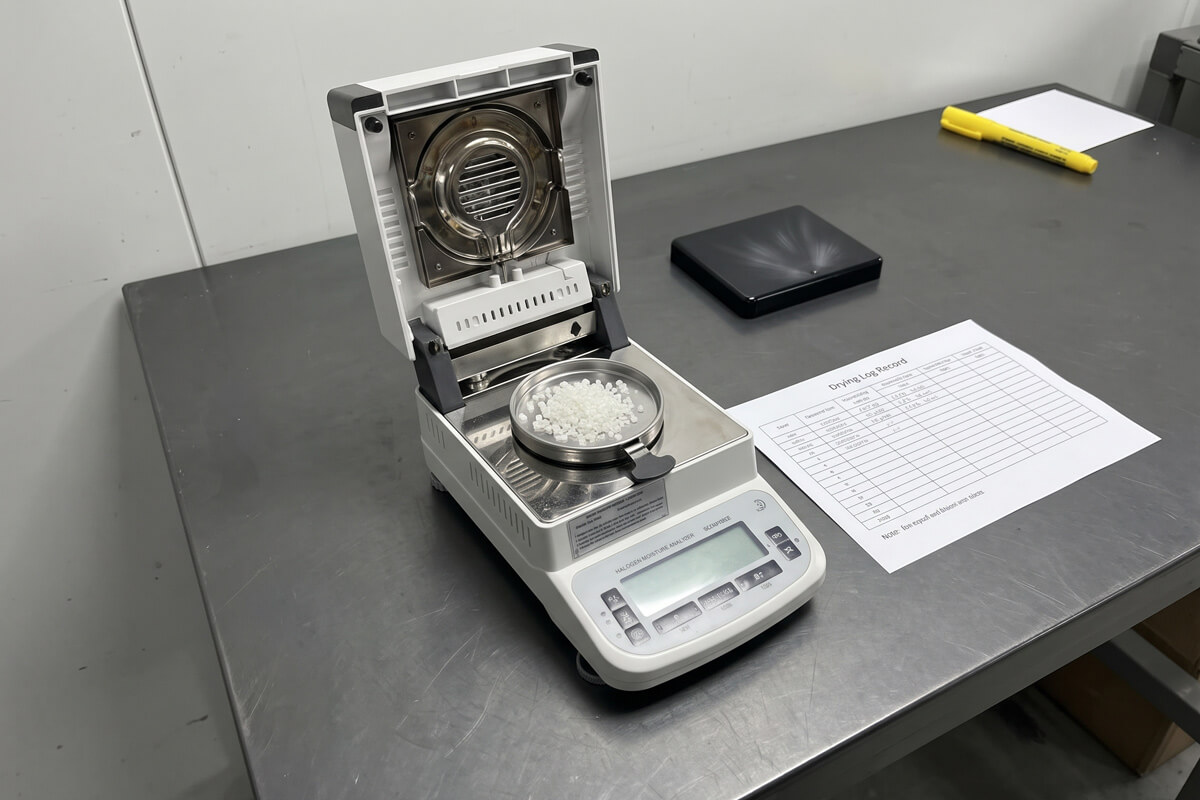
Splay on a part you have approved is a conversation about traceability and a negotiated remedy, so agree on how it will be handled before it happens. Our quality assurance page describes the inspection side, and our guide to reading quotes and commercial terms covers defect clauses.
Quick Answers
Does splay affect part strength?
Often it is cosmetic, but it can signal wet or overheated resin, which does lower strength. Treat structural parts with splay as suspect until a test says otherwise.
Can splay be fixed after molding?
No. It is part of the surface layer. Mild splay may be tolerated on textured, hidden surfaces, but on gloss or painted faces, fix the cause instead of reworking parts.
Why does splay only appear at startup?
Startup splay usually means wet resin that sat in the hopper, material degraded during a stoppage, or an incomplete purge. If it fades as production stabilizes, review drying, hold temperatures and purging, not the injection profile.