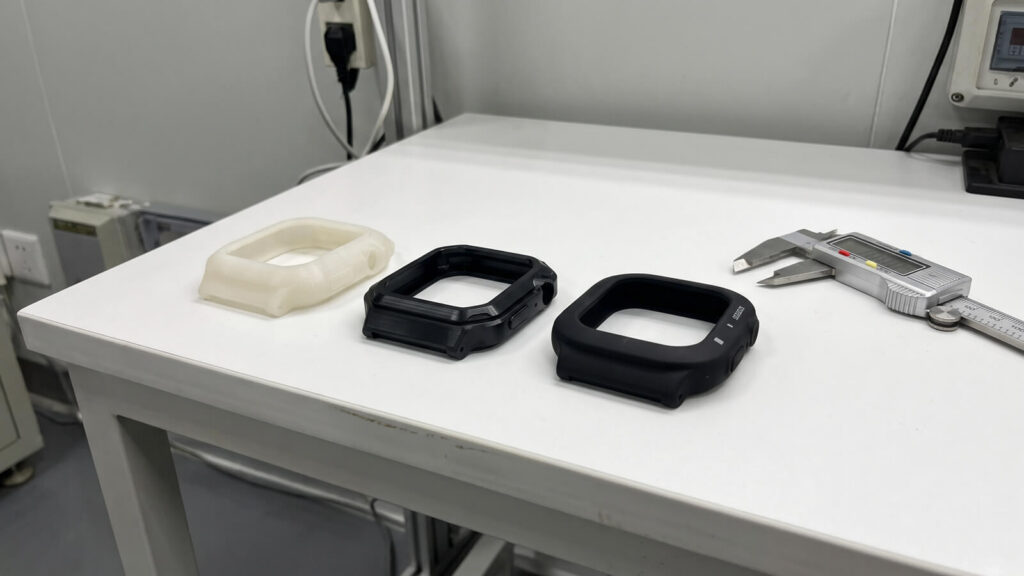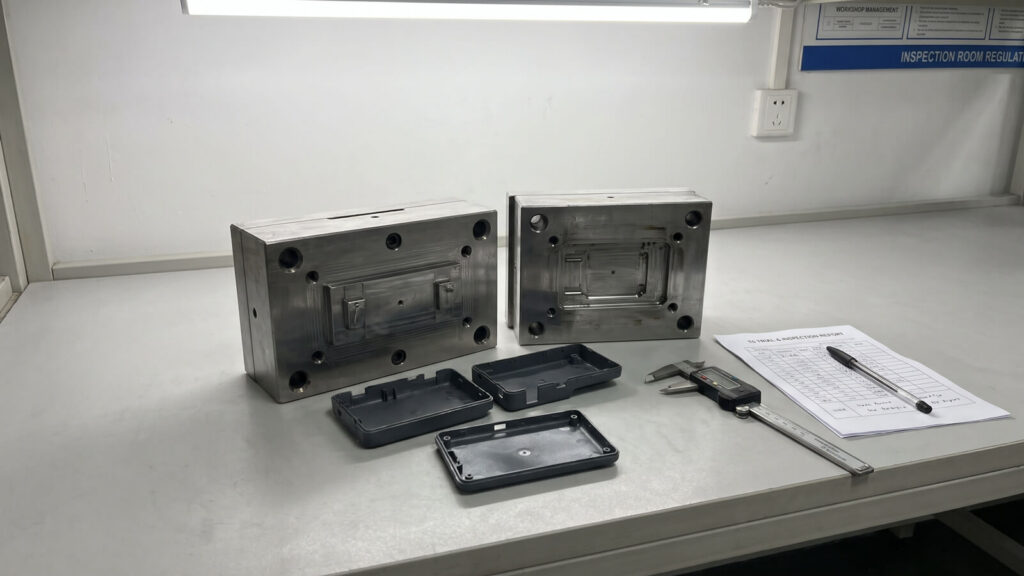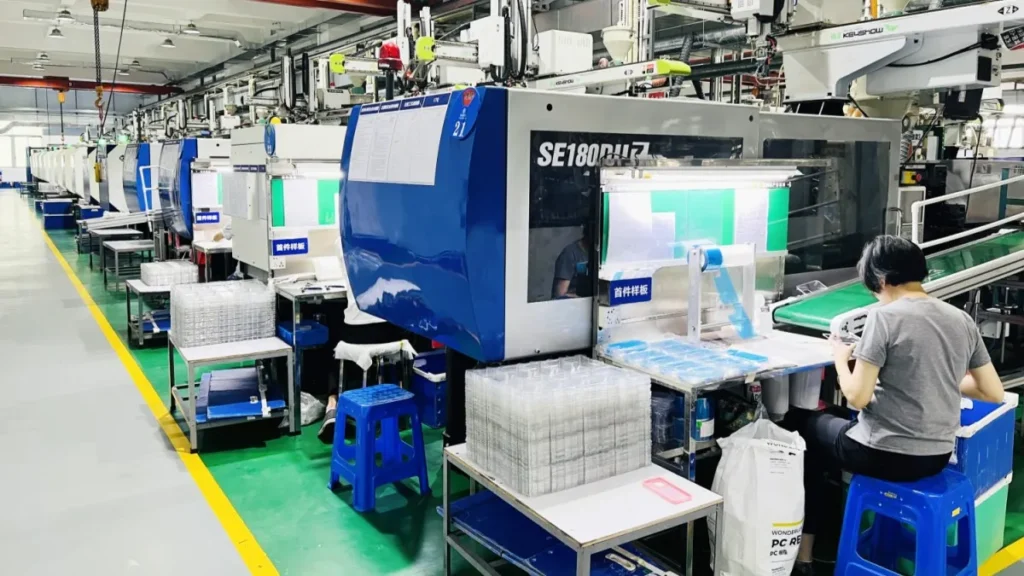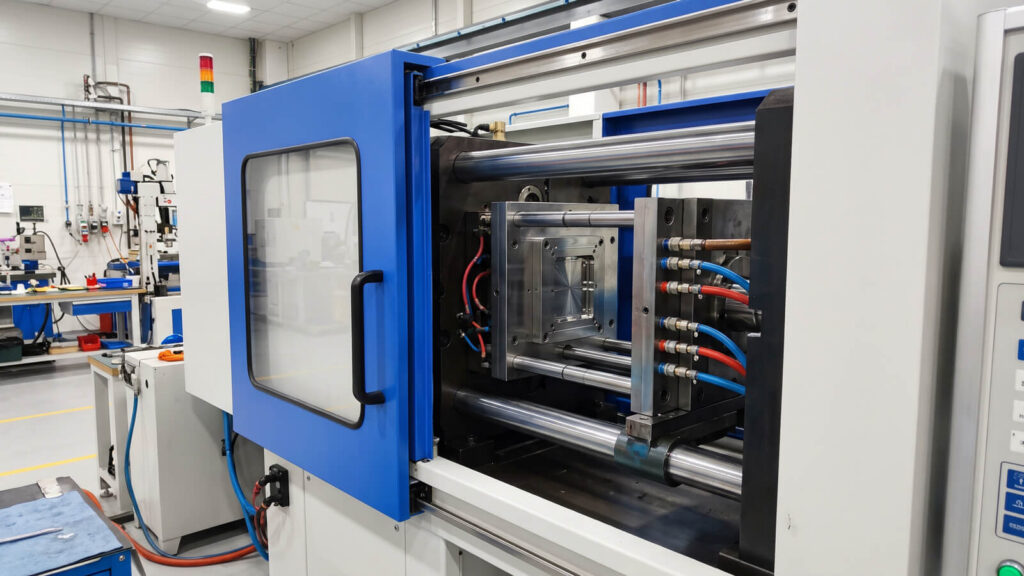

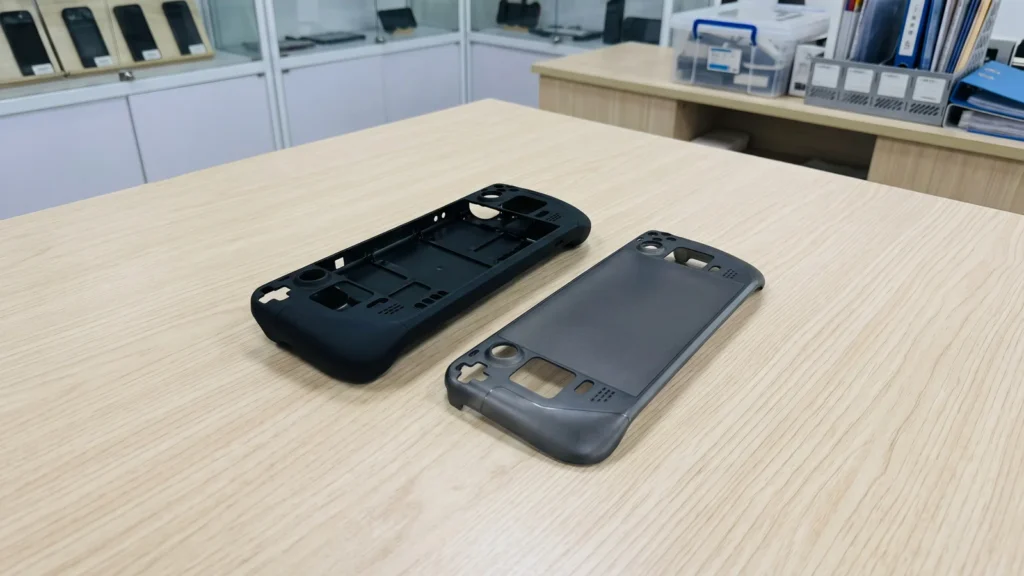
Search Etsy or any handheld gaming subreddit and you will find indie designers selling 3D-printed grips and front covers for $30 to $45. Most of them hit the same wall somewhere between 200 and 500 orders. A set takes hours on the printer, layer lines rub the palm raw, and the clip that holds the cover snaps along a layer and becomes a one-star review. Meanwhile, established grip-and-cover bundles retail at roughly $60 to $90, and a generic hard shell sells for $25 to $30 (Source: March 2026 handheld case review). The gap between those prices is largely a manufacturing gap. This article is for sellers who have already proven demand and want to scale: what changes in materials, which three details sink grip projects, and where the break-even sits.
Job: shock absorption, tight wrap, hand feel
Watch: sink on the ergonomic bulge
Job: rigid guard over screen and sticks
Watch: snap fit and screen clearance
Both parts are pure plastic accessories: no PCBA, no electronics certification path.
Why Printed Grips Stall at a Few Hundred Orders
Printing is the right way to validate a design. It stops being the right way to sell it, for four reasons.
- Surface feel: FDM layer lines scrub the palm during long sessions, and MJF nylon feels dry and grainy and takes dye unevenly.
- Snap durability: layered parts tend to split along the layers under repeated flexing, so a clip that survived testing fails in a customer’s hands.
- Loose fit by necessity: Protolabs Network’s printing guidance calls for about 0.5 mm clearance on FDM snap-fits and 0.3 mm on SLS or MJF (Source: Protolabs Network snap-fit guide). That clearance is why printed covers rattle. A molded TPU wrap is designed with controlled interference instead.
- Throughput: one printer makes a handful of sets a day, and every reorder waits in the same queue.
| Attribute | 3D printed (FDM / MJF) | Injection molded (TPU + PC) |
|---|---|---|
| Hand feel | Layer lines or grainy powder surface | Etched micro-texture, identical on every part |
| Drop behavior | Stiff shell, little cushioning | TPU absorbs and recovers |
| Fit | 0.3–0.5 mm clearance, may rattle | Designed interference, about ±0.1 mm |
| Clip life | Splits along layers | Tough resin, tapered clip, no layers |
| Cost at 1,000+ | Stays flat per set | Falls as tooling spreads |
For a process-level cost comparison, see our guide to injection molding vs 3D printing cost. The rest of this article stays with this one product.
One Resin per Part: Choosing TPU and PC
Grip case: TPU 85A–95A, single shot
Shore hardness sets the personality of the grip. 85A feels plush and tacky but stretches over time and can fit loosely after months of use. 95A holds its shape and demolds cleanly but feels firm. Most grip projects land between 88A and 92A. TPU also solves a geometry problem: because it flexes, shallow undercuts such as the lip that wraps the console edge can often be stripped off the core, so the tool may not need costly side actions.
Two cautions. TPU is hygroscopic, so it must be dried before molding or you get splay. And it shrinks more than PC, so we tune dimensions after the first shots. If you later want TPU bonded onto a rigid frame, that becomes an overmolding project with its own tooling.
Travel cover: PC or matte ABS
PC is the safer choice for impact and holds a thin 1.8–2.2 mm wall. ABS takes a matte texture easily and costs less, but it is more brittle in a drop. Either way, the cover must rest on the grip’s rim with at least 1 mm of clear space above the screen and the stick tops. A cover that touches the screen leaves marks, and those become returns.
Three Details That Sink Grip Projects in Mass Production
These are the three that show up in our DFM reviews again and again.
1. Sink marks on the ergonomic bulge
The side bulge that makes the grip comfortable can be 8–12 mm thick against a 2 mm wall everywhere else. Left solid, it sinks into a visible dent. We core it out from behind, support it with ribs no thicker than about half the wall, and gate at the thick section so pack pressure reaches it. A fine surface texture then hides whatever is left. Our plastic injection molding DFM review marks these spots on your CAD before any steel is cut.
2. Vent grille distortion
Slots over the cooling vents leave thin bars of material. Soft TPU bars bend or tear when pulled off the core. Keep bars at least 1.0 mm wide, add draft to the slot walls, and back the grille with a hidden rib. Cooling time before ejection matters here as much as geometry.
3. The cover-to-shell fit
Too loose and the cover rattles. Too tight and it lifts the screen protector or scuffs the finish. Fit is a tolerance-stack problem across two parts in two resins with different shrink rates. We target 0.2–0.4 mm of interference on the TPU wrap and hold critical dimensions near ±0.1 mm (see injection molding tolerances). TPU keeps shrinking for up to a day after molding, so we measure first-shot parts after they rest overnight, and we cut the tool “steel-safe,” leaving metal that can be removed to tune the fit without making a new tool.
Micro-Texture: What Separates a $12 Shell from a $55 One
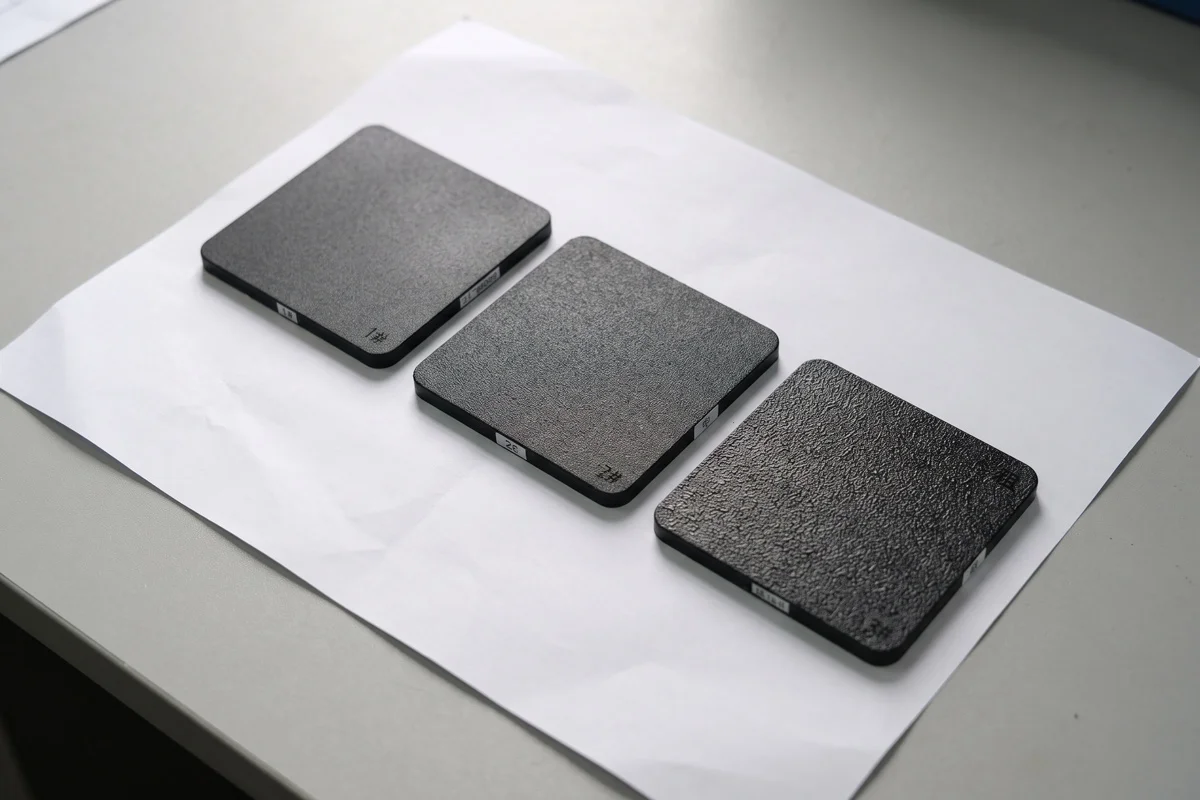
The cheap shell is glossy and collects fingerprints. The premium one has a fine, dry-feeling grain that works with sweaty hands and hides dust. That grain is etched into the cavity by chemical etching or laser, typically about 0.03–0.08 mm deep. Three practical points:
- Draft: texture needs extra draft, roughly 1–1.5° per 0.025 mm of depth, or it drags and scuffs on ejection. Soft TPU forgives more; a PC or ABS cover does not.
- Timing: texture goes on late, and changing the grain after trials costs time. Approve plaques first.
- Tool steel: aluminum takes texture less reliably and wears faster, which is why we often propose soft steel such as P20 for a textured grip tool.
Before committing, ask for two or three texture plaques molded in your actual resin and color.
Break-Even Math: When Bridge Tooling Beats the Print Farm
Tooling is per device model, so start with your best seller. A bridge tool for a TPU grip plus a PC cover typically runs $10,000–$24,000 combined: roughly $6,000–$14,000 for the grip, $4,000–$8,000 for the cover and $500–$1,500 for texture, depending on side actions and cavity count. Molded sets land around $3.00–$5.20. The chart uses mid-range numbers against an assumed $18 per printed set. Plug in your own print cost; the shape of the curve stays the same.
Break-even lands right at the 1,000-set mark, which is also our standard MOQ: 1,000 pieces per item, with color counted separately, so a grip and a cover are two items. Past that point every extra thousand sets saves roughly $14,000 against printing, and the mold is 100% yours after full payment. Move to hardened steel only once volume proves out.
On terms, we quote EXW or DDP so your landed cost is clear, and payment can be 50% deposit or 30-day terms once we have worked together. We sign an NDA before you send CAD. MUD rapid tooling can deliver first samples in as little as 10 days; textured tools add some time.
Printing gave you proof that people want the product. Injection molding gives you the margin to sell it at scale. The sellers who make the switch smoothly are the ones who bring their printed design to a DFM review early.
Frequently Asked Questions
What material is best for a handheld console grip case?
TPU with a Shore hardness of 85A–95A is the best material for most grip cases.
- 85A: softest and grippiest, but can stretch over time.
- 88A–92A: the usual balance of grip and shape retention.
- 95A: firmest, holds its shape best, easiest to demold.
Can the grip and the travel cover be molded from one material?
Yes, but it is rarely the best choice. A soft TPU cover can flex onto the screen, and a rigid PC grip loses the shock absorption and hand feel. Two single-material parts, TPU for the grip and PC or ABS for the cover, are simpler to mold than one multi-material part.
How much does it cost to mold a handheld console grip case and cover?
Bridge tooling for a grip plus cover typically costs $10,000–$24,000 combined, and molded sets run about $3.00–$5.20 each at 1,000 sets and up. Final numbers depend on side actions, cavity count and texture, and are confirmed after a DFM review.
What is the MOQ for custom handheld console accessories?
Our standard MOQ is 1,000 pieces per item. Each color counts separately, and the grip and the cover count as two items.
How do you stop a molded grip from showing sink marks?
Core out the thick areas and keep the walls even. Three steps do most of the work:
- Hollow the ergonomic bulge from behind instead of leaving it solid.
- Keep ribs at about half the wall thickness.
- Gate at the thickest section and add a fine surface texture.