
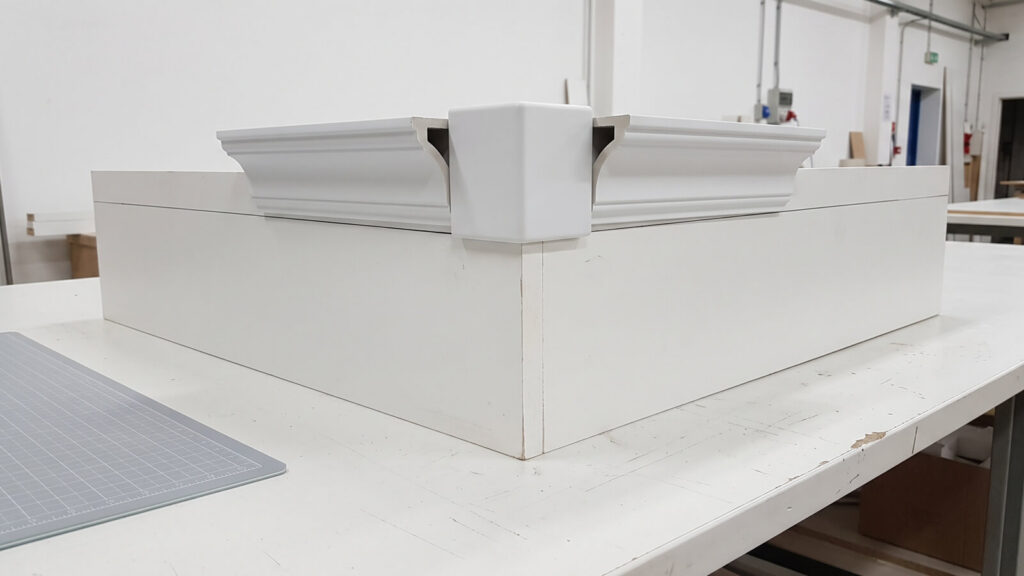
Our factory does not cut trim on a ladder. We make plastic parts. Still, outside corners are where installers waste the most material and where trim brands collect the most complaints, and they are one of the few places where a molded part can replace a skilled cut. This article first explains how an outside corner is actually cut, because you need that baseline to judge any alternative. Then it covers how to design a molded outside-corner piece that works with extruded crown profiles, so your customers can skip the miter saw.
How Installers Cut an Outside Corner
The basic rule: inside corners are usually coped, and outside corners are mitered, with both pieces cut at matching angles so they meet on the corner that sticks out into the room. Everything depends on the spring angle, the angle between the back of the crown and the wall when the bottom edge sits against it. Most store-bought crown is 38°, with 45° and 52° also common. A saw setup built for one spring angle gives a bad joint on another.
If the crown lies flat on a compound miter saw, the settings for a 90° outside corner are fixed by spring angle (Source: Acme Tools):
| Spring angle | Miter angle | Bevel angle |
|---|---|---|
| 38° | 31.6° | 33.9° |
| 45° | 35.3° | 30° |
The usual sequence on site:
- Identify the spring angle of the profile before touching the saw.
- Check the wall angle with an angle finder. Few corners are a true 90°.
- Cut test pieces from scrap for every corner.
- Cut each real piece slightly long, then trim to fit.
- Fill any remaining gap with filler or caulk before painting.
For PVC and polystyrene crown, the angles are the same. Use a fine-tooth carbide blade and a slow feed: PVC melts if the blade heats it, and polystyrene chips along the edge.
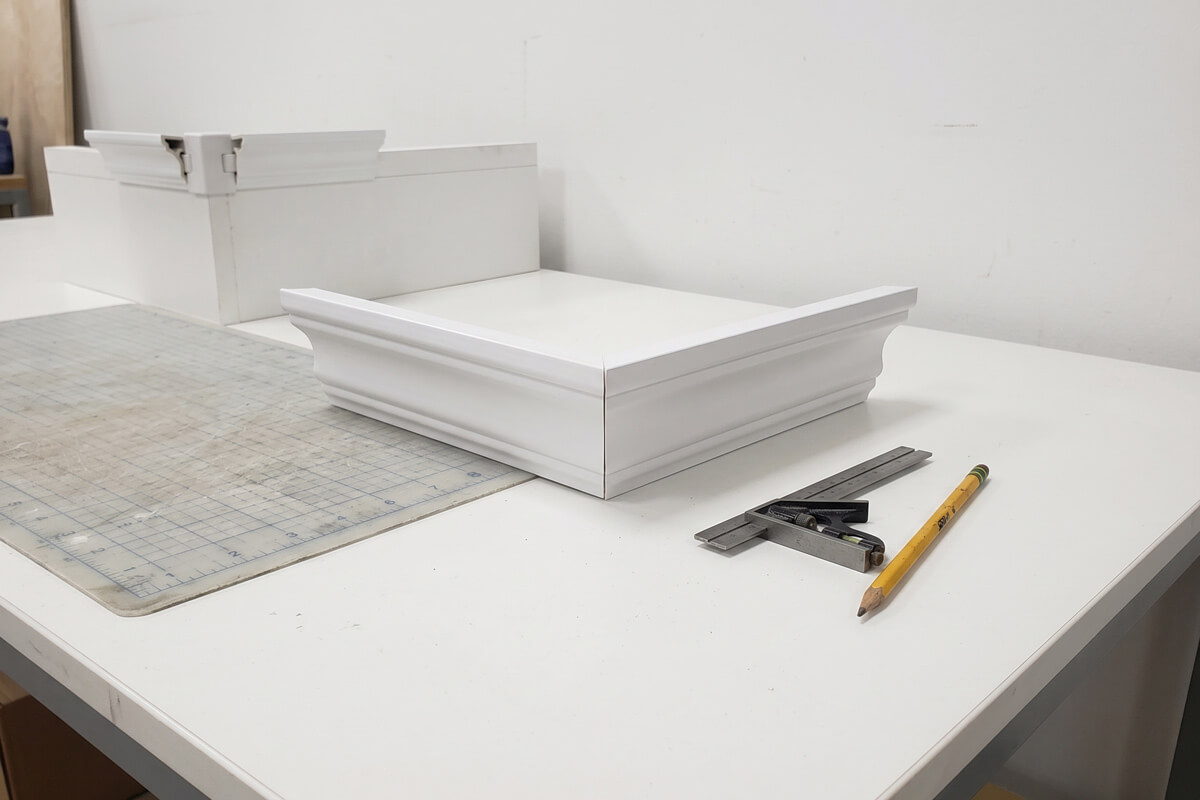
Why Outside Corners Go Wrong
Outside corners fail more visibly than inside corners because the joint faces the room and nothing hides it. Three things stack up:
- Angle error. A 1° error across a 100 mm cut face opens a gap of about 1.7 mm. That is easy to see on a painted white joint.
- Profile variation. Extruded trim is not as dimensionally tight as molded parts, and long lengths can bow.
- Thermal movement. Rigid PVC expands on the order of 50 to 60 millionths per °C, so a 3 m run moves roughly 3 mm across a 20 °C swing. Joints at the ends open and close.
A molded corner changes the equation. Instead of asking every installer to produce a precise miter, the brand ships a part that does the precision work once, in a steel mold.
- Quality depends on the installer and the saw
- Every corner is a custom cut and a test cut
- Gaps are filled with caulk
- Works for any wall angle and length
- Quality is set by the part
- Both strips are cut square and slide in
- Joint line is consistent every time
- Each wall angle and spring angle needs its own cavity
Designing an Injection-Molded Outside Corner
One scope note first. We mold the accessory, not the extruded profile. Crown strips are normally extruded, and the corner block, end cap or inside corner that goes with them is the part injection molding does well. That matches the plastic accessory work we focus on. The starting rules below are conventional design guidance; the details of any real part depend on your profile.
| Feature | Starting rule | Why it matters |
|---|---|---|
| Nominal wall | About 2.0 to 2.5 mm, kept uniform | Avoids warp and sink on the visible face |
| Ribs behind the face | 50 to 60% of the wall, height no more than 3x wall | Stops ribs showing through as sink marks |
| Draft | At least 1° per side; add 1.5° per 0.025 mm of texture depth | Clean release without scuffing the finish |
| Parting line | On a hidden back edge or a natural shadow line of the profile | No flash line across the face |
| Gate | On the back or inside a socket | No gate mark where it will be seen |
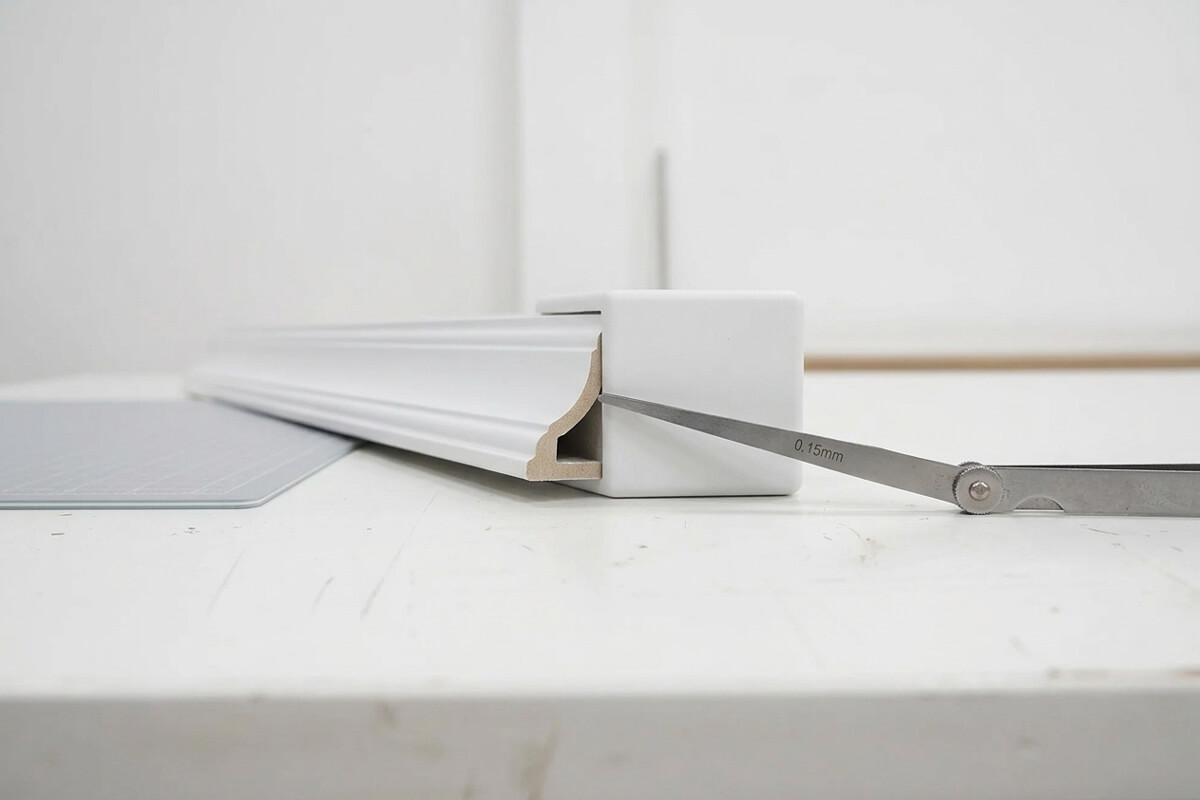
| Socket clearance | About 0.3 to 0.5 mm per side with a tapered lead-in (verify with real extrusion samples) | Absorbs extrusion tolerance without a loose joint |
The draft rule for textured surfaces is widely used, and Fictiv’s guide to draft and texture gives the same figure. If your corner block carries a wood-grain texture, plan the draft before the CAD is frozen. Our general guide on how to design for injection molding covers the remaining rules.
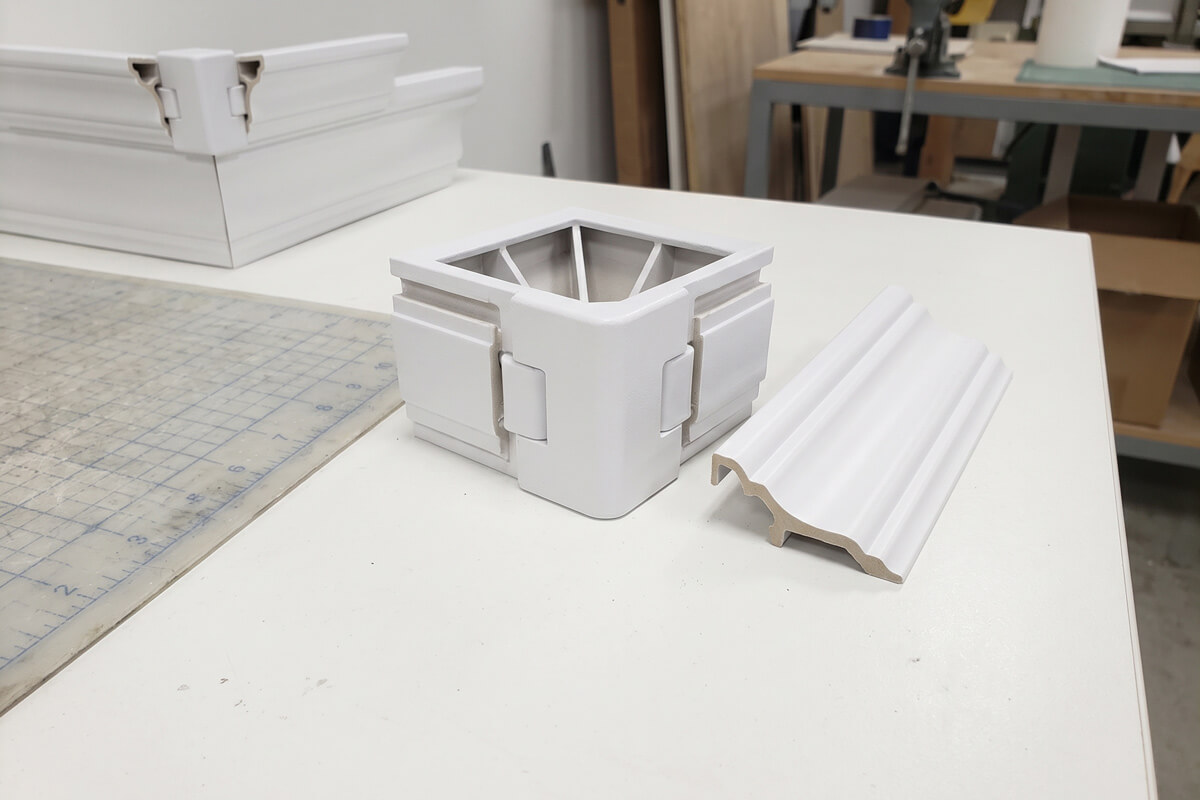
Spring angle and wall angle: one mold or several?
A corner block cannot match every profile. Each spring angle (38°, 45°, 52°) changes the geometry of the face, and each wall angle changes the corner itself. The cost-efficient route is often one mold base with swappable cavity inserts per spring angle, so you pay for the base once. Decide your SKU list before tooling: a 90° block in 38° and 45° covers most residential use, and unusual angles can be added later.
Material and surface match
- HIPS or PS: matches common extruded polystyrene crown, paints and bonds well, but is brittle.
- PVC: matches PVC trim. It releases corrosive gases in processing, so the mold needs corrosion-resistant steel such as S136.
- ASA: UV-stable, the right pick if the trim is used outdoors.
- ABS: tough and paintable, useful where impact matters.
Surface needs care because extruded and molded parts rarely have the same gloss or color out of the box. Approve a joined sample (block plus real strip, painted or primed as in the final product) before mass production. Our material selection guide and the article on injection molding tolerances explain how to handle those two variables.
Tooling and Order Planning for Trim Accessories
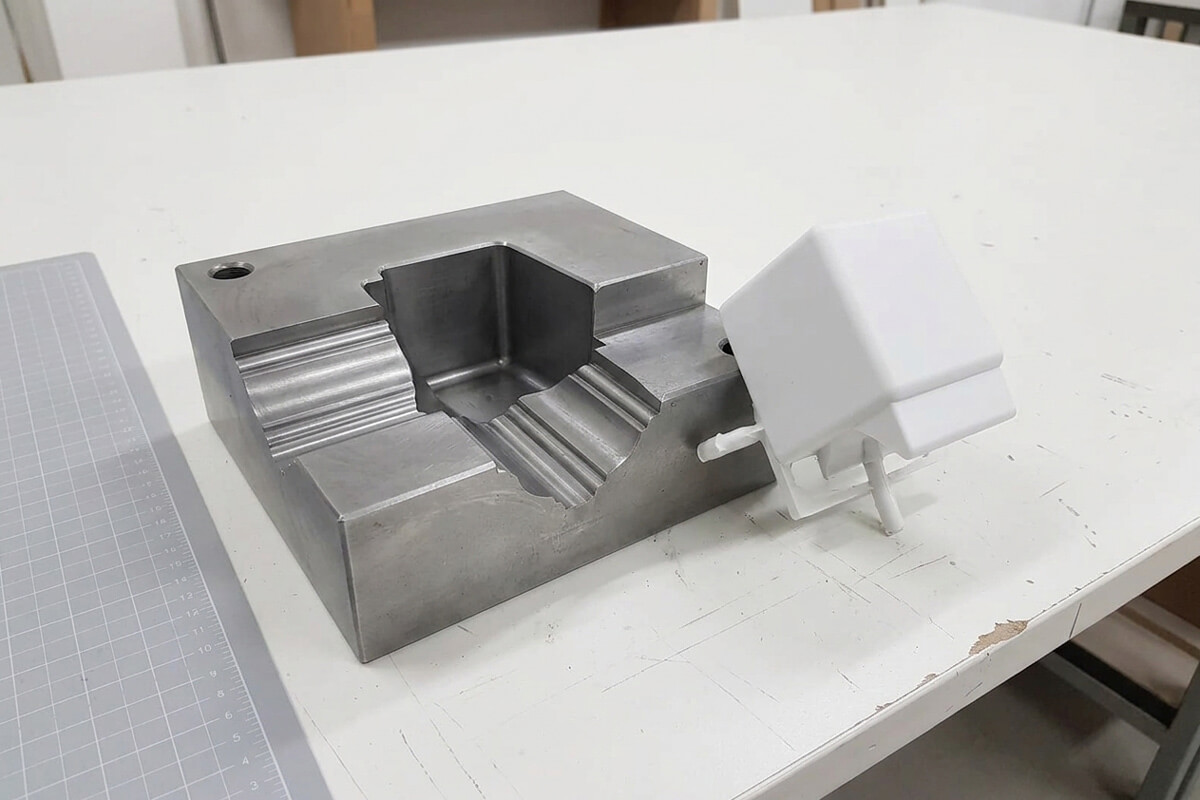
Corner blocks are small parts, so mold size stays manageable, and a family mold can combine an outside corner, inside corner and end cap when wall thicknesses are similar. A practical order of operations:
- Get several real lengths of your extruded profile, not just the drawing.
- Measure the profile variation, then set the socket clearance from the measurements.
- Prove the fit with a quick sample mold. Our rapid tooling route aims at samples in as little as 10 days.
- Freeze the design, then build the production tool. See the cost breakdown for injection molds.
Commercially, our regular minimum order is 1,000 pieces, with EXW or DDP delivery and flexible payment terms. An NDA comes first, and the mold belongs to you after full payment. For smaller first runs, see the guide to low-volume injection molding for NPI.
Frequently Asked Questions
What angle do you cut crown molding for an outside corner?
For a 90° outside corner, the angle depends on spring angle and how the crown sits on the saw. Typical settings:
- Crown flat, 38° spring angle: 31.6° miter, 33.9° bevel
- Crown flat, 45° spring angle: 35.3° miter, 30° bevel
- Crown nested against the fence at its spring angle: 45° miter, no bevel
Do you cope or miter an outside corner?
You miter an outside corner and cope an inside corner. Both pieces of an outside corner are cut at matching angles so the joint closes on the projecting edge.
How do you cut crown molding for an outside corner that is not 90 degrees?
Measure the real corner with an angle finder and recalculate the cut. For the nested method:
- Subtract the measured corner angle from 180°
- Divide the result by two for the miter angle (a 135° corner gives 22.5°)
- Make a test cut in scrap before cutting the real piece
Can you cut PVC or polystyrene crown molding the same way as wood?
Yes, the angles are identical, but plastic needs a different technique:
- Use a fine-tooth carbide blade
- Feed slowly so PVC does not melt
- Support polystyrene close to the cut to limit chipping
Are molded corner blocks a good alternative to mitered outside corners?
Yes, for brands that sell a fixed set of profiles. Molded corner blocks give a consistent joint without miter cuts. The trade-offs:
- Each spring angle and wall angle needs its own cavity
- Tooling is a fixed upfront cost
- Fit must be proven on real extruded samples
What does it take to mold a custom corner piece?
You need a CAD file or profile drawing, real extrusion samples, a material choice and an order plan. Our usual terms:
- Minimum order of 1,000 pieces
- NDA before files are shared
- Sample route in as little as 10 days with rapid tooling
- Mold ownership transfers to you after full payment
Send us a length of your extruded profile and its drawing. We will review the corner design, spring angles, socket clearance and material, and tell you what a molded corner would take.
- Written DFM feedback on your corner concept
- NDA signed before you share anything
- Quote built on your real MOQ and SKU plan